Media Cashflow
The Media Cashflow template combines data from various platforms, such as ECB currency rates, Meta, Google Ads, LinkedIn, TikTok, and Sklik. It then transforms this data and consolidates it into a single data model for further deployment in a data app.
In this app, users can view and filter expenses by client, identify upcoming payments, or change budgets for campaigns.
We will guide you through the process of building the Media Cashflow app using a predefined template.
How to Use Template
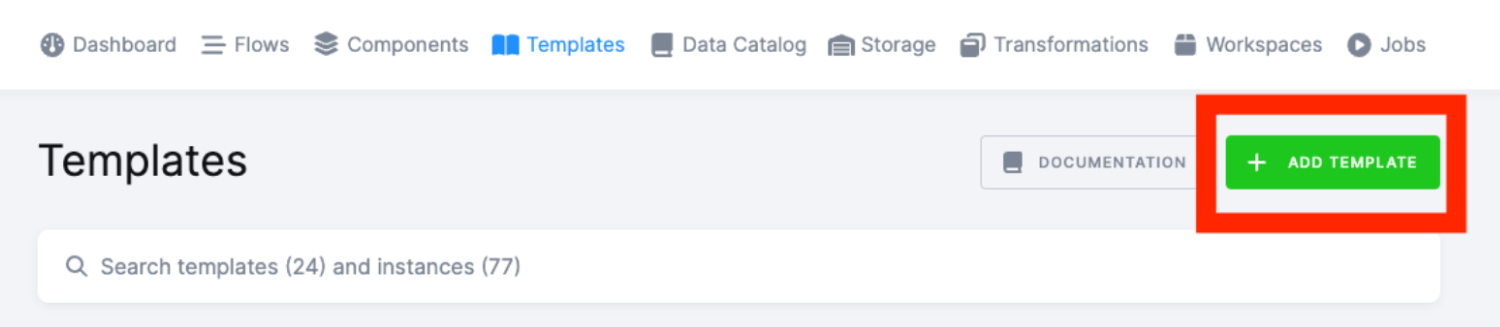
To begin, click on Templates in the top menu, and then select Add Template.
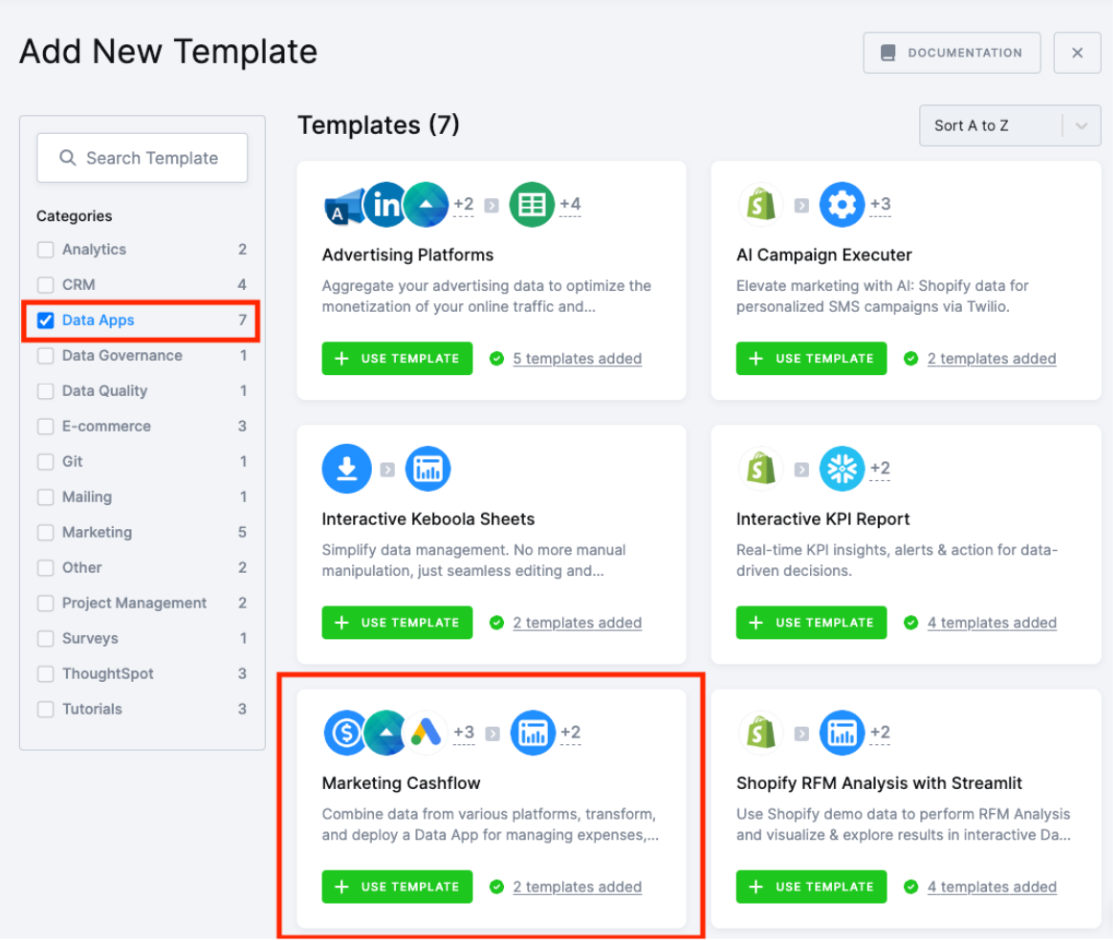
This will take you to the list of all available templates. Among the various categories available, we will focus on the data app templates for our case. To do so, check the box for data app templates and view the list that appears. From this list, select Marketing Cashflow and click on Use Template.
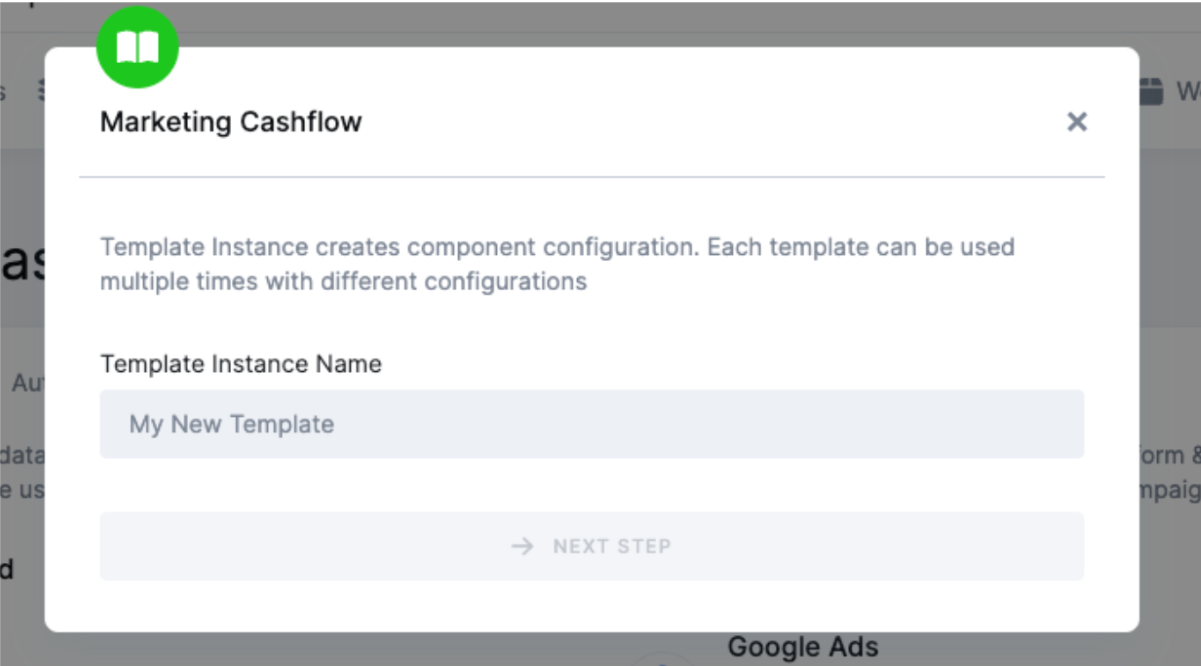
You will then be directed to the main Template page, where all the components used are listed. Here, you can also find a general description of the Template. Click Use Template to begin. Name the template, and click Next Step.
Then you will configure the template:
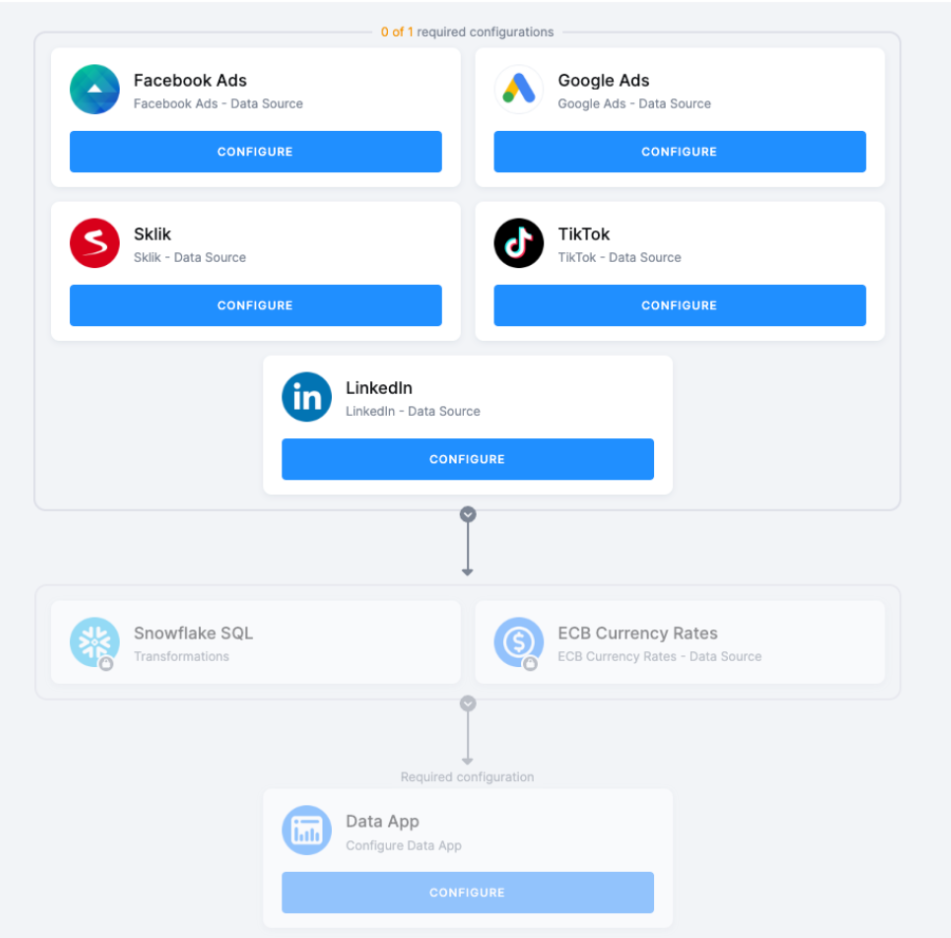
-
Data extractions – First, you will select one or multiple data source connectors that will provide all available data. For more details, see the section Data Sources below.
-
Snowflake SQL – Then the data will be prepared so it can be sent to the data app.
-
Data app deployment
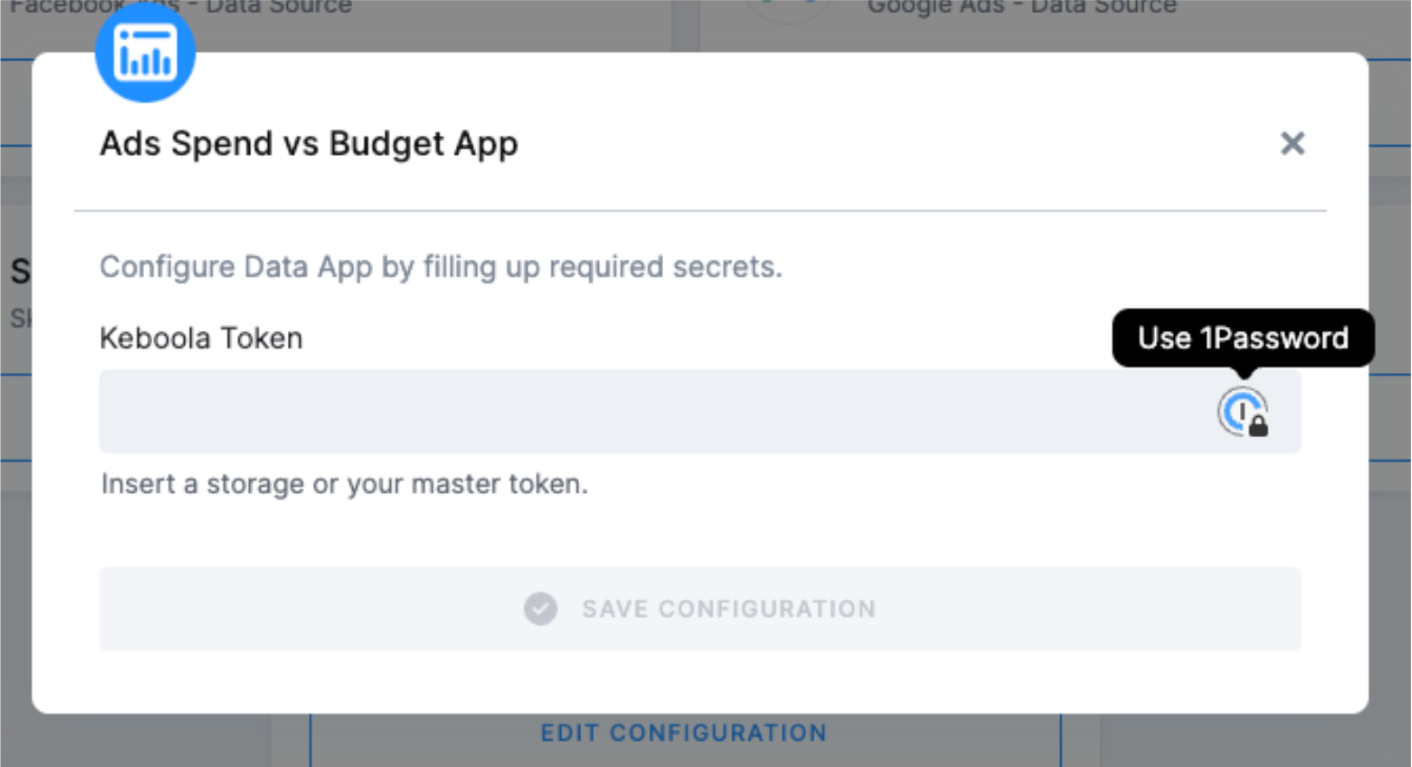
- After authorizing at least one data source, click Configure in the Data App box. To do so, you will need to provide your Keboola token.
- Once you enter, save the configuration and start using the app.
- The data app will visualize the campaign spending across various advertising platforms. It will display both the total budget and the budget spent per client on different advertising platforms. Additionally, the app will provide you with the capability to input or modify budgets for specific clients and choose the advertising platforms to which the specific budget will apply.
- These changes will be promptly saved to storage and will become accessible for subsequent data refreshes from advertising campaigns.
To learn more about how templates work, please refer to this page.
Data Sources
The following data sources are available:
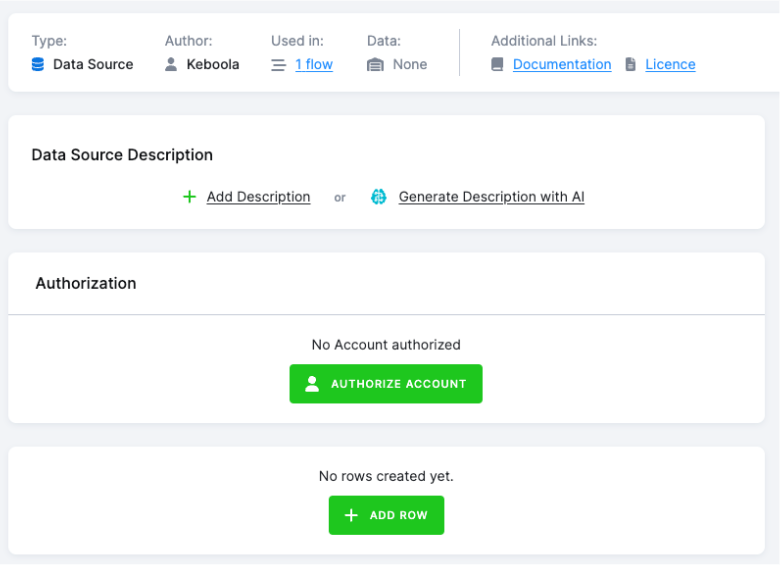
Authorizing Data Sources
To use a selected data source connector, you must first authorize the data source. You need to use at least one of the following marketing data sources.
Facebook Ads
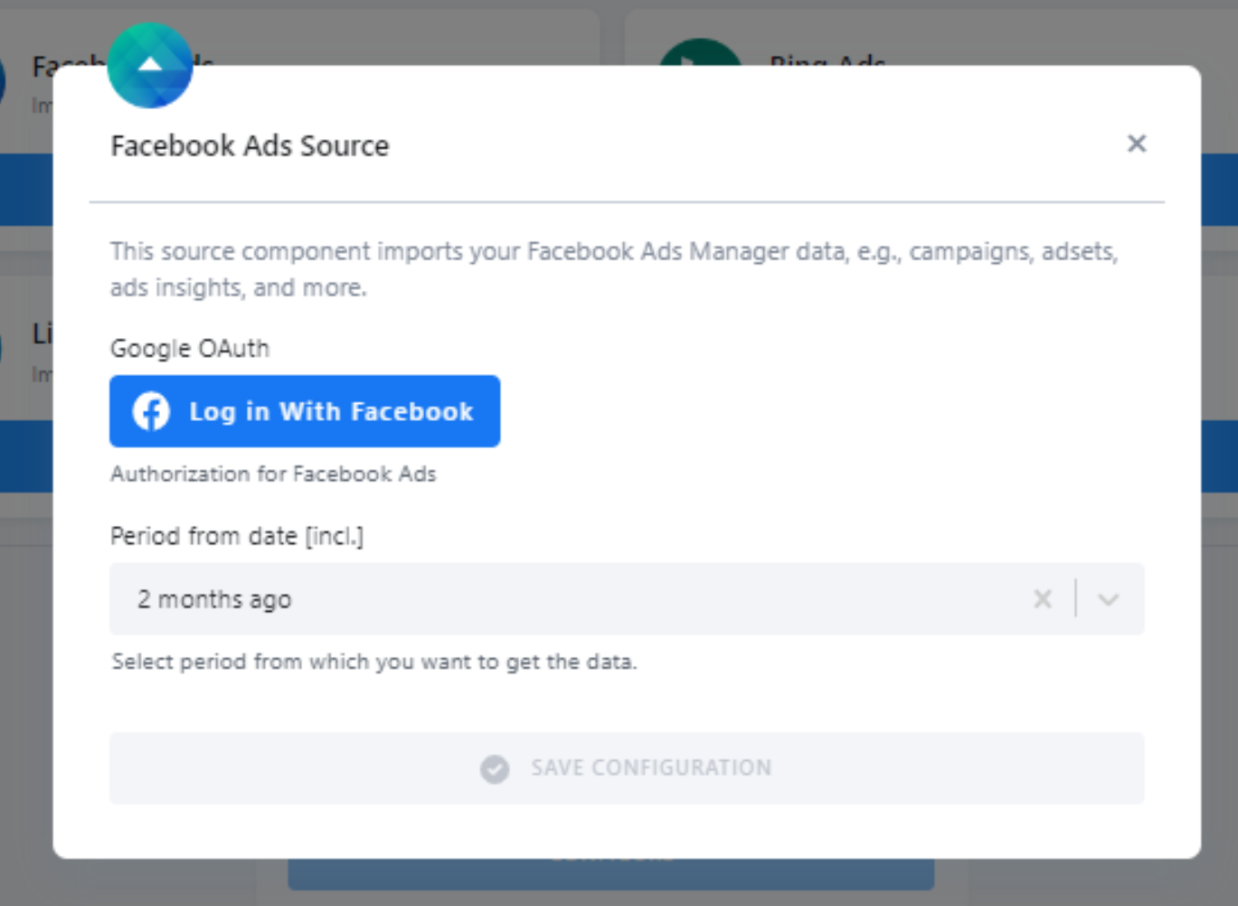
Log in to Facebook with redirection from this step, and allow Keboola to access the data. From the list of accounts, select the accounts from which you want to download data.
Google Ads
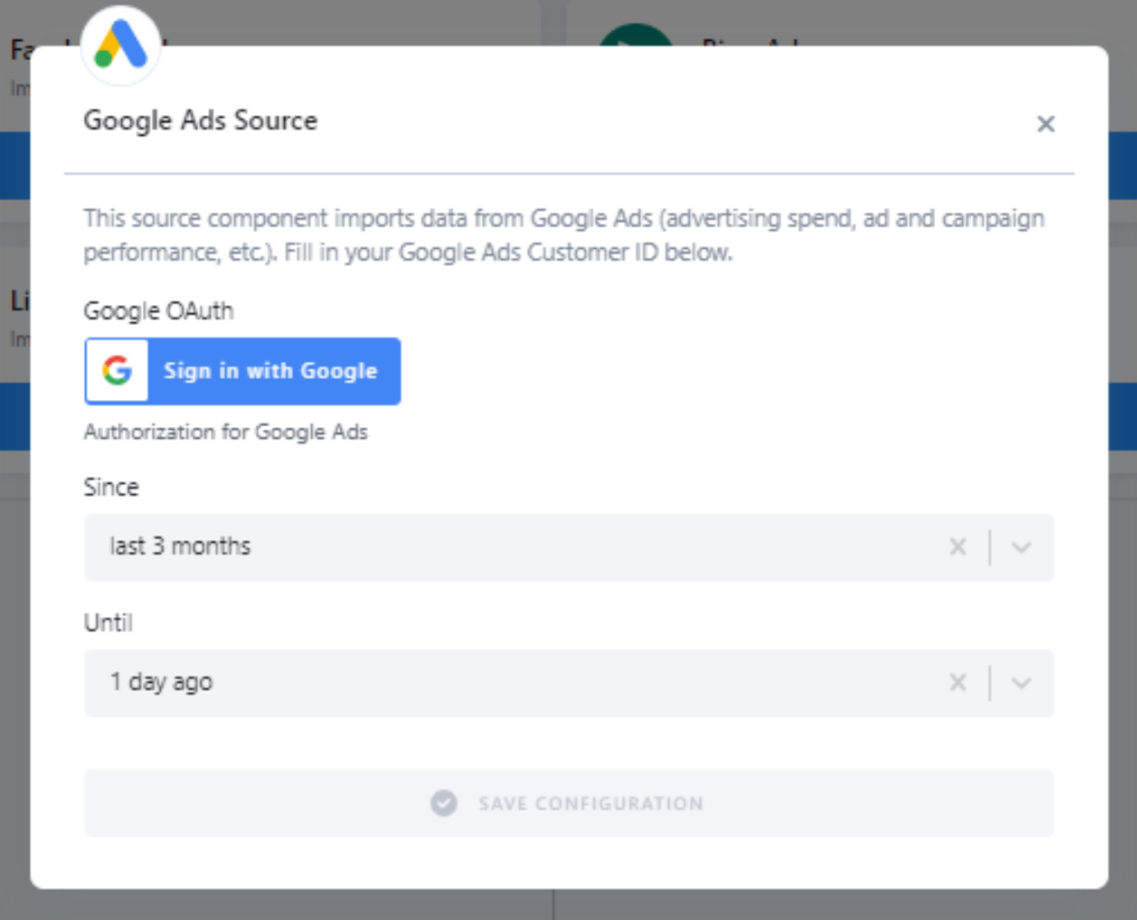
Authorize your Google account, and select the period for extracting the data.
LinkedIn Ads
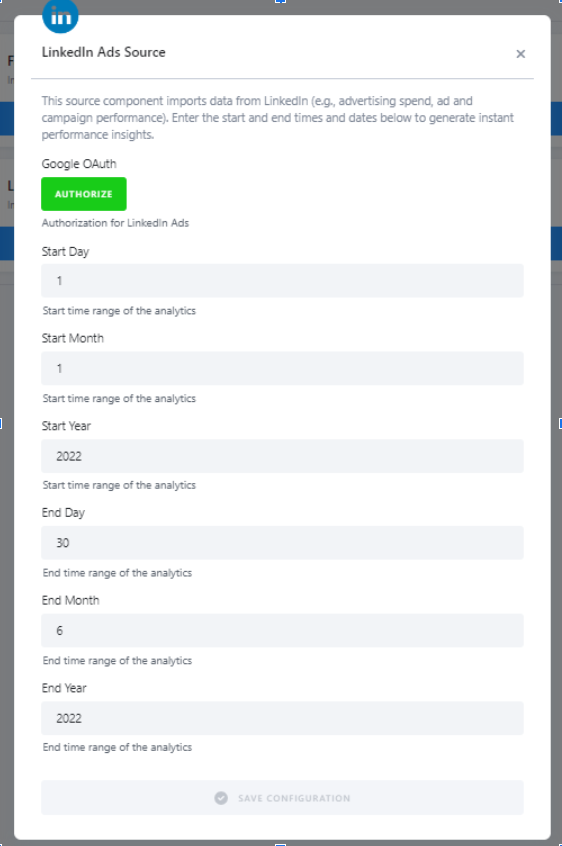
Authorize your LinkedIn account, and then fill in the start and end dates following the example.
Sklik
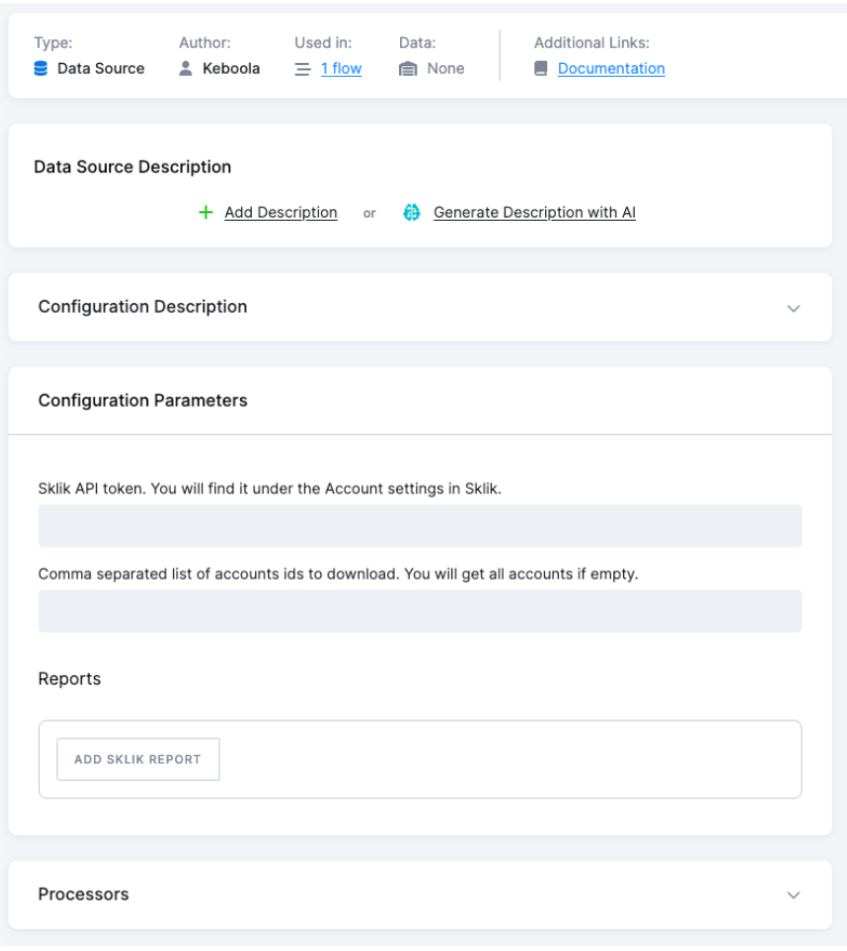
Authorize the Sklik account using the Sklik API token, and define a list of account IDs to download. Find more details in the documentation.
TikTok Ads
To access data from your TikTok account, authorize your account and define rows you want to use. For more details, visit the documentation.
Setting Up Data App

Deployment Type – A Git repository is used for this data app.
Data App Repository – To run the app from the template, use the Git repository. You can either use the one provided as an example or utilize your own Git repository. In order to run the app successfully, you need to fill in all necessary fields: Project URL, Username, Access Token, Branch, and Main File Path.
Secrets – To provide your app with environment variables or sensitive information like credentials, API keys etc., enter them as key-value pairs in the section Secrets. These secrets will be injected into the secrets.toml file upon deployment of the app.
Table/File Input Mapping – Select a table or files in the input mapping section
(Re)deploy Data App – Once everything is set up, simply click Deploy Data App (or Redeploy Data App).
To modify or view the data app, you can find it under Components > Data App.
For more information on how data apps work and how to set them up, please visit this page.
Using Data App
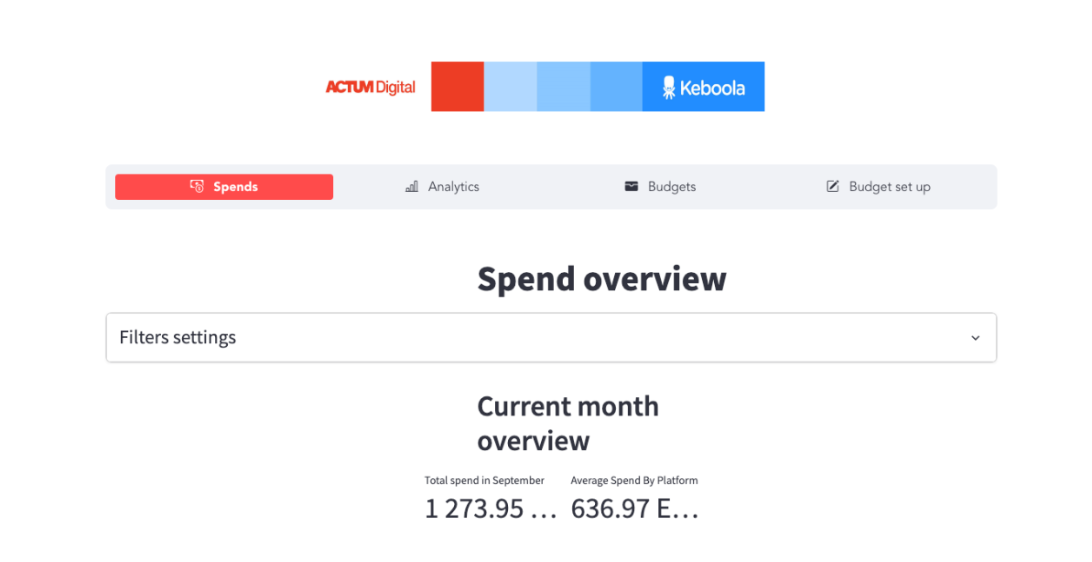
This data app combines budget plans and actual expenditures from various campaigns across different platforms. It allows you to monitor campaign spending effortlessly and to filter expenses by client.
Moreover, you can conveniently adjust the budget allocated for each campaign, ensuring optimal resource allocation and enhanced campaign performance.