Account Management
Account management allows you to configure your own account. You can reach your account settings from two places:
- Keboola home page
- Projects
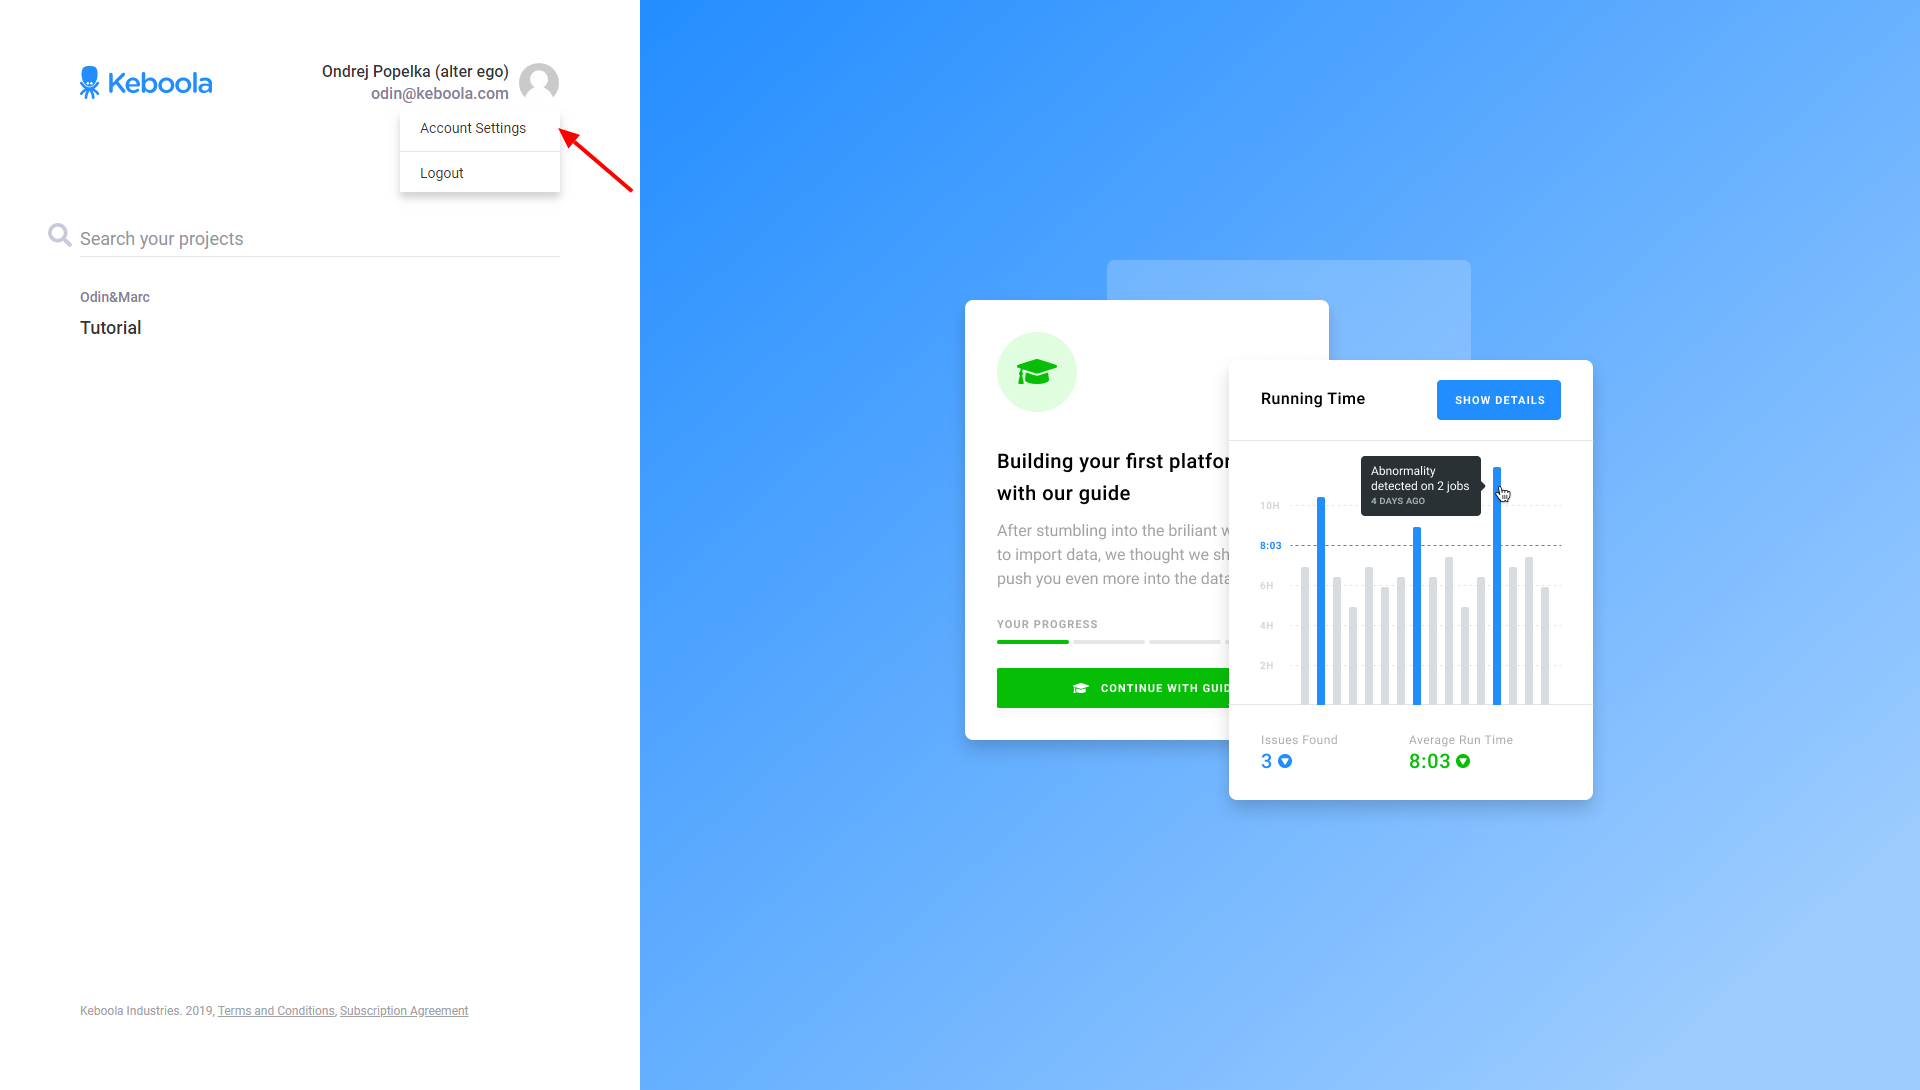
Go to the Keboola home page and select Account Settings in the little drop down box at the top:
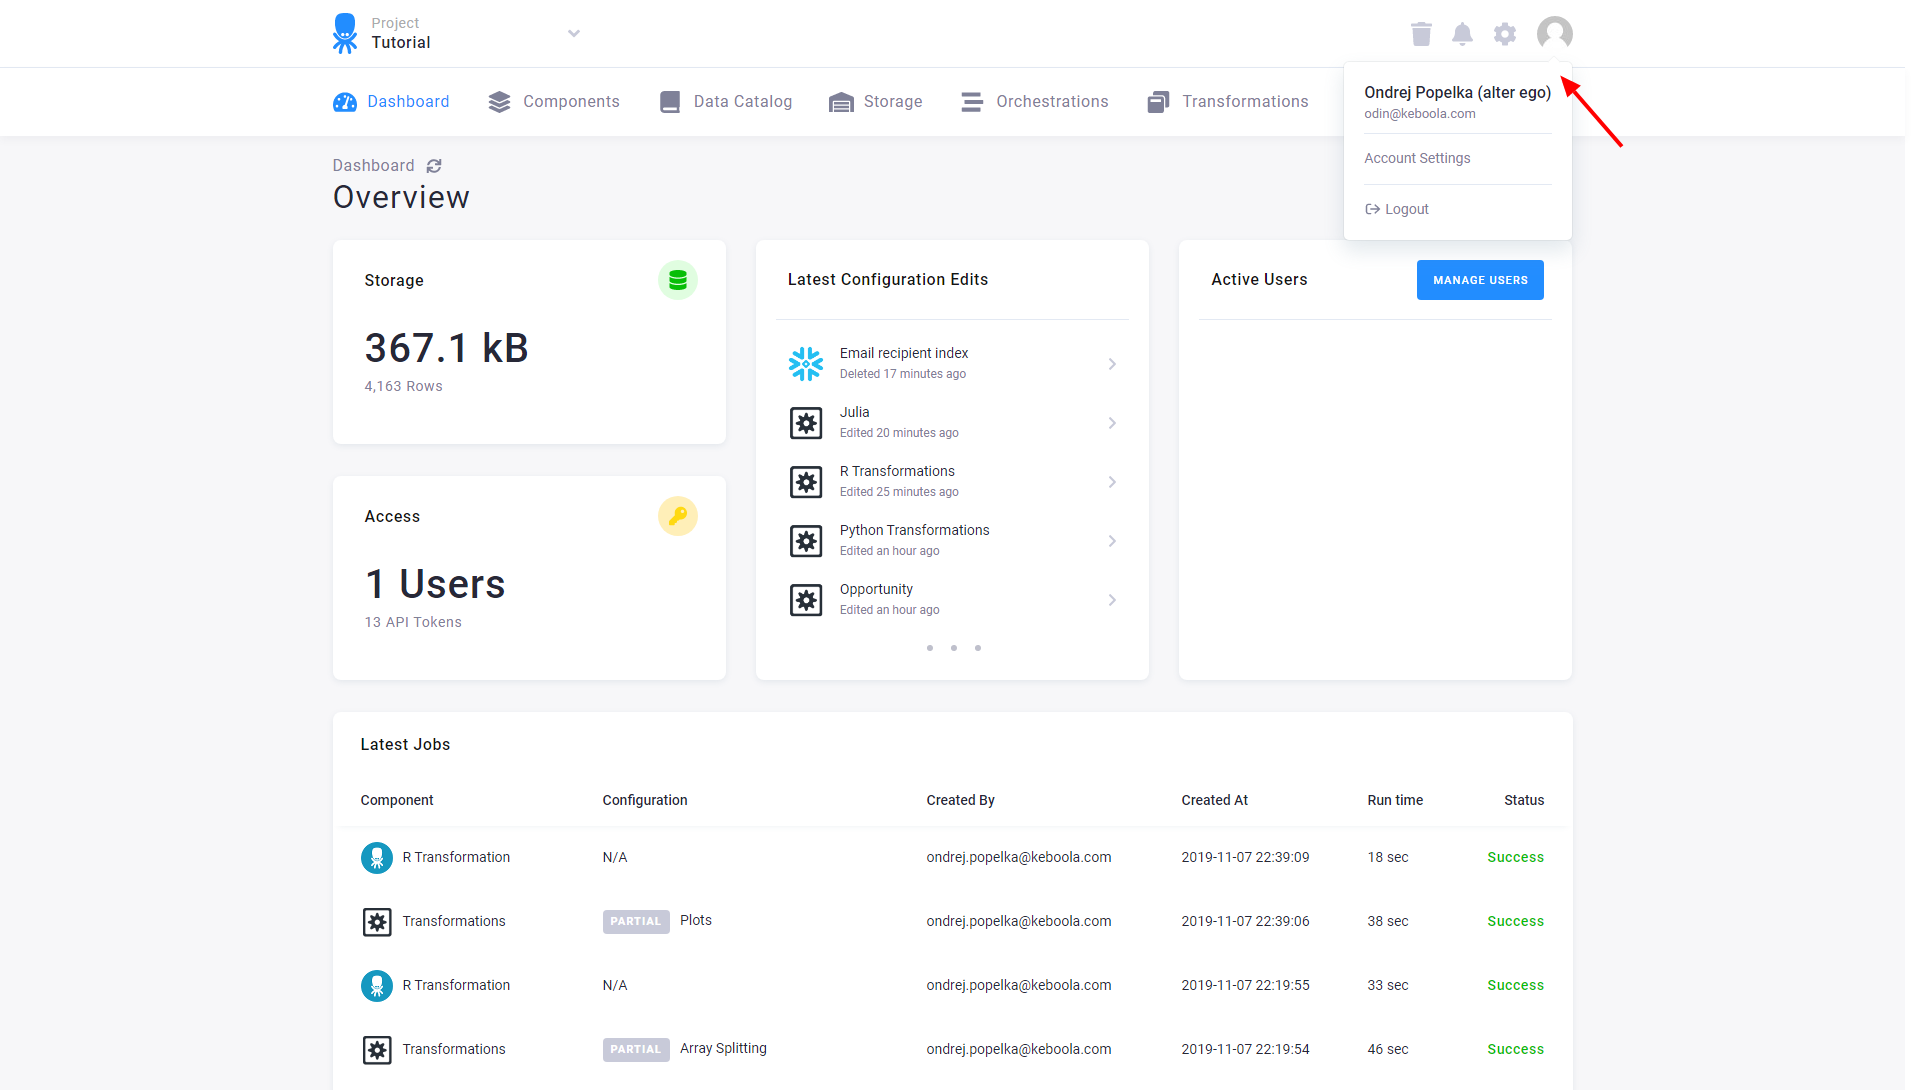
Or, find the Account Settings page from any of your projects:
On the Account Settings page, you can do the following:
- Change your password
- Enable or disable multi-factor authentication
- Use promo codes
- Create management tokens
- Work with organizations and maintainers
Changing Password
To change your password, go to your account settings — the Account & Security section.
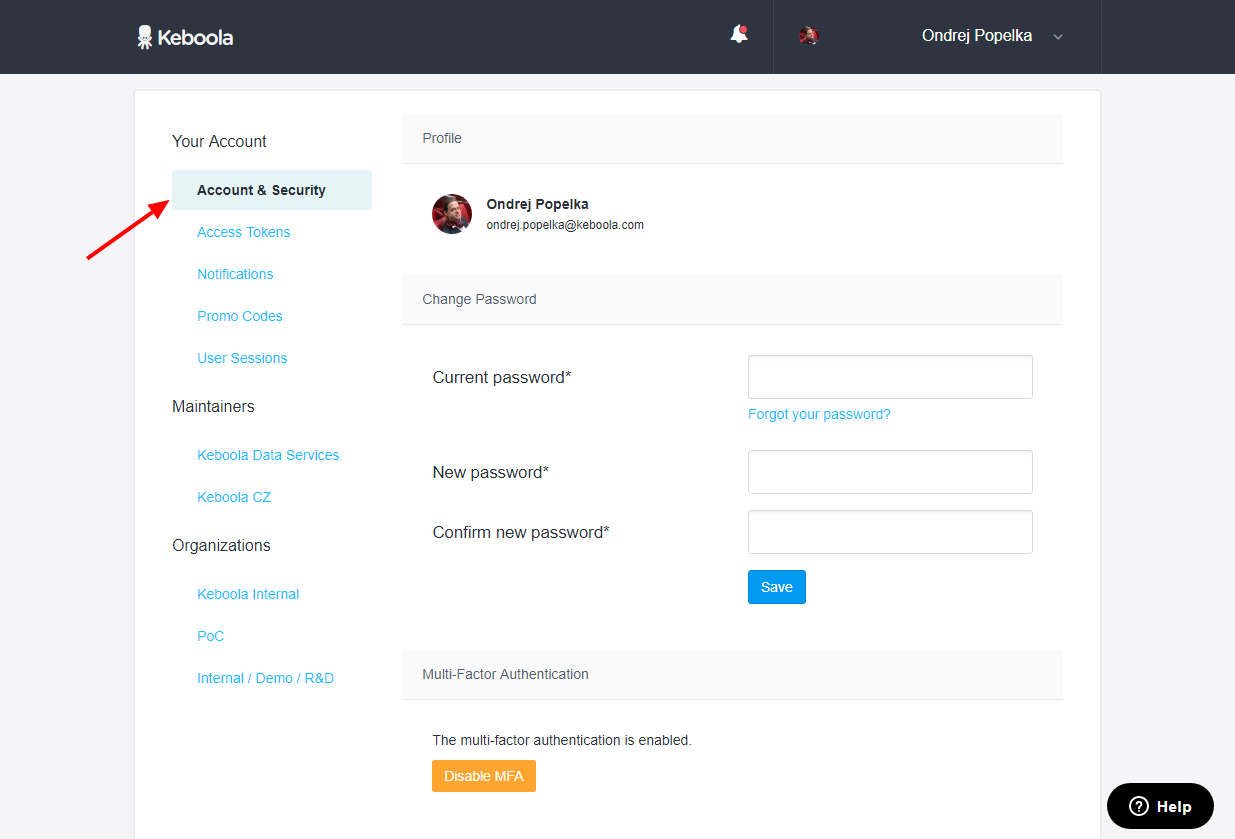
First you need to enter your old password. Remember you cannot change your email address because it is considered an identifier; you have to create a new account.
Multi-Factor Authentication
We highly recommend enabling the multi-factor authentication (MFA) on your account, as it greatly increases its security.
We support two types of MFA:
-
Time-based one-time password (TOTP) — a software-based authentication technique. When logging into a site supporting TOTP, the authenticator app generates a six-digit one-time password that you must enter in addition to your usual login details. You can use a phone or another device as a virtual multi-factor authentication (TOTP) device. Follow the instructions.
-
Universal 2nd Factor (U2F) — a hardware device. When signing in, activate your security key as suggested in its documentation (e.g., by pressing a button) rather than typing in a verification code. For using security keys, use the FIDO U2F standard. Follow the instructions.
TOTP
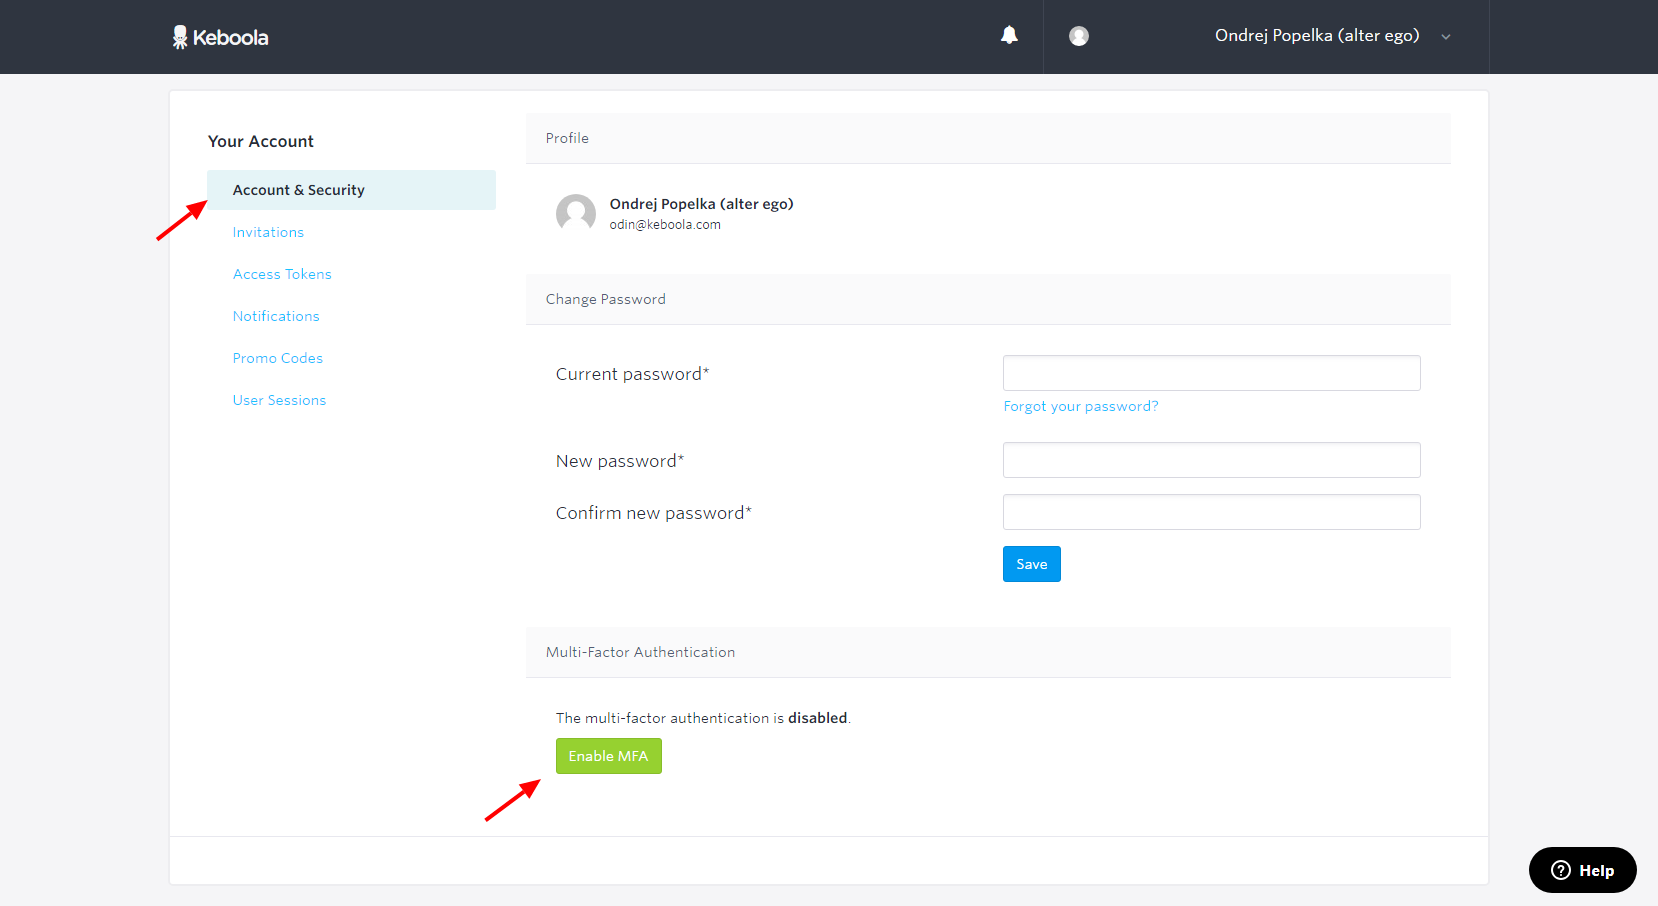
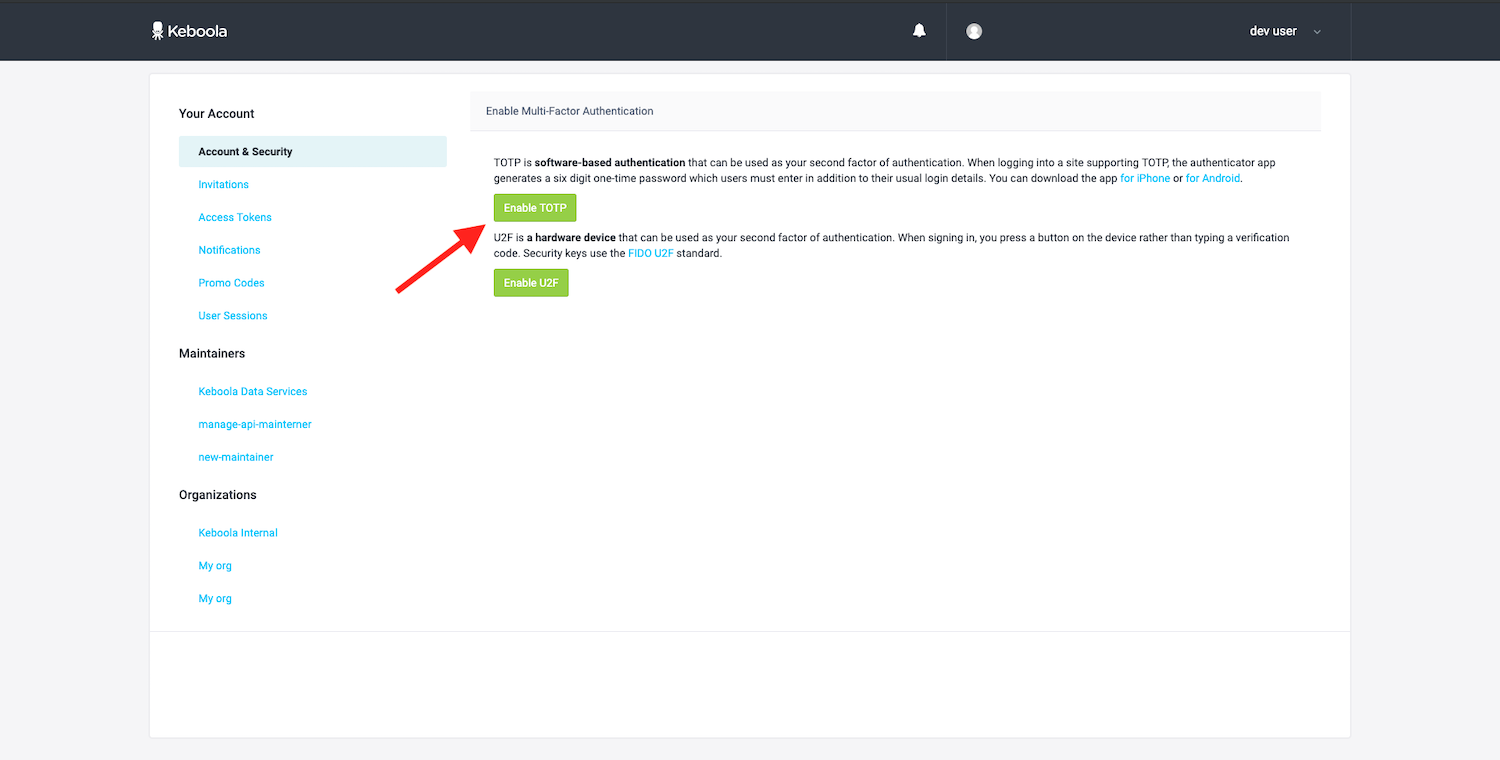
TOTP is software-based authentication. You need to have a device with the Google Authenticator app or a compatible MFA application (MFA using SMS is not supported). To enable MFA, go to Account & Security and click the Enable MFA button:
Then click on Enable TOTP:
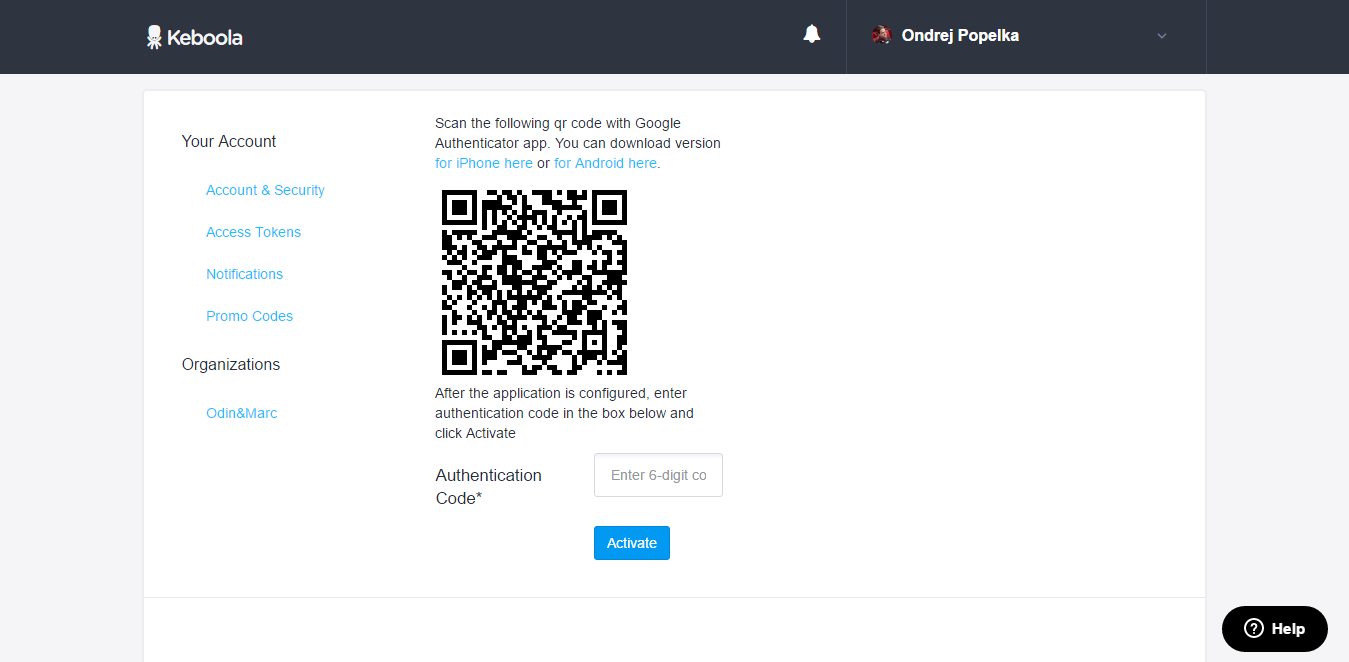
Set up the Google Authenticator app, scan the QR code with your camera, and enter the obtained code:
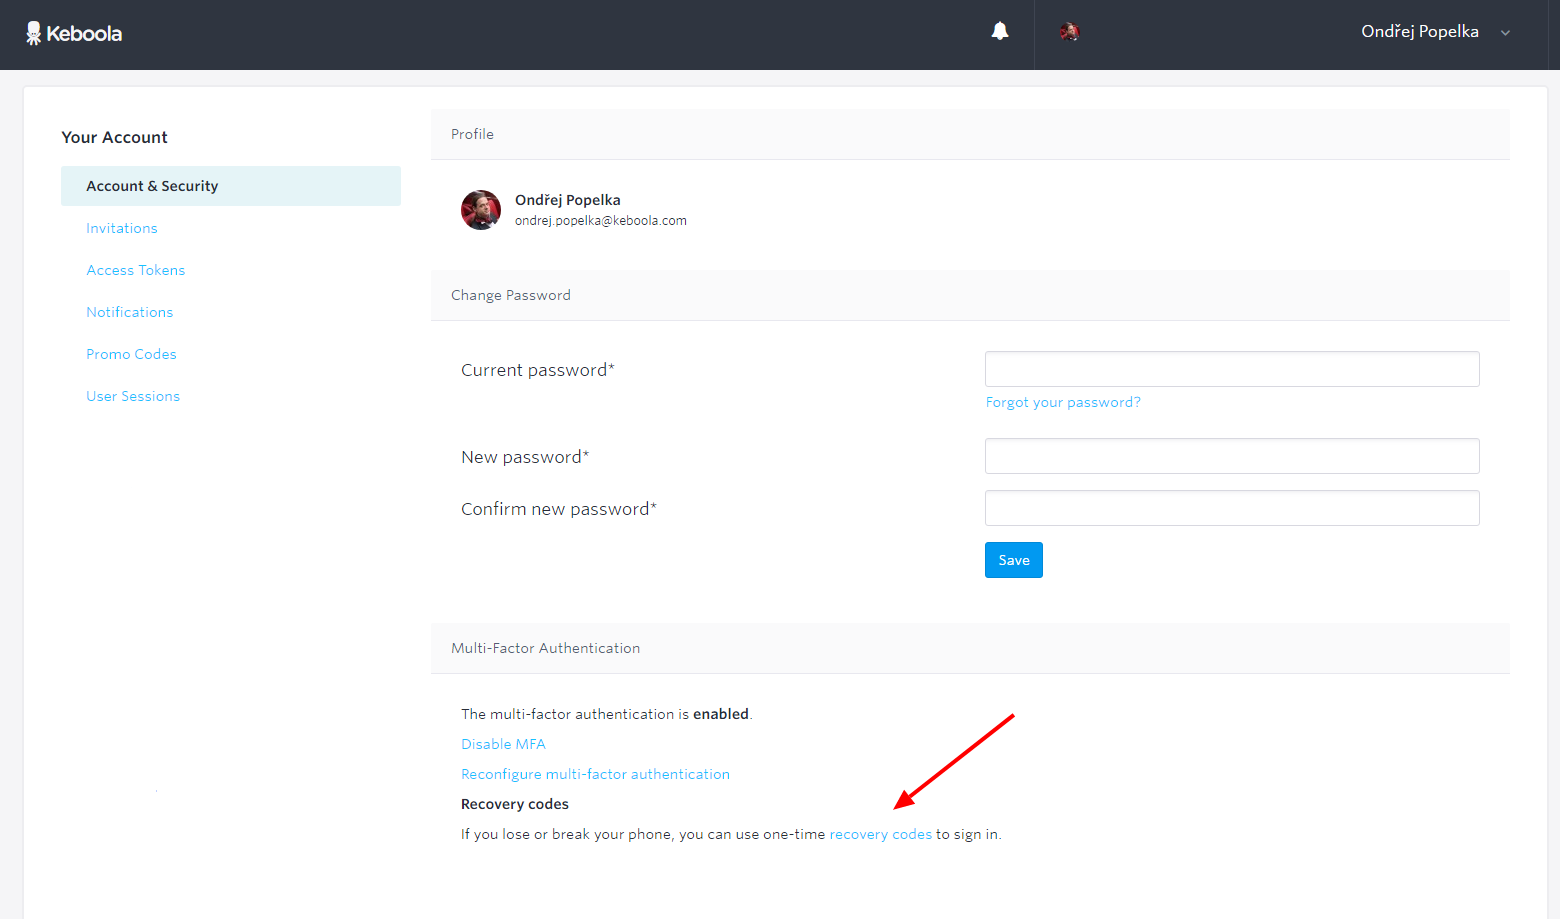
Once you click the Activate button, the MFA will be enabled. You can then download the MFA Recovery Codes or reconfigure the MFA to another device:
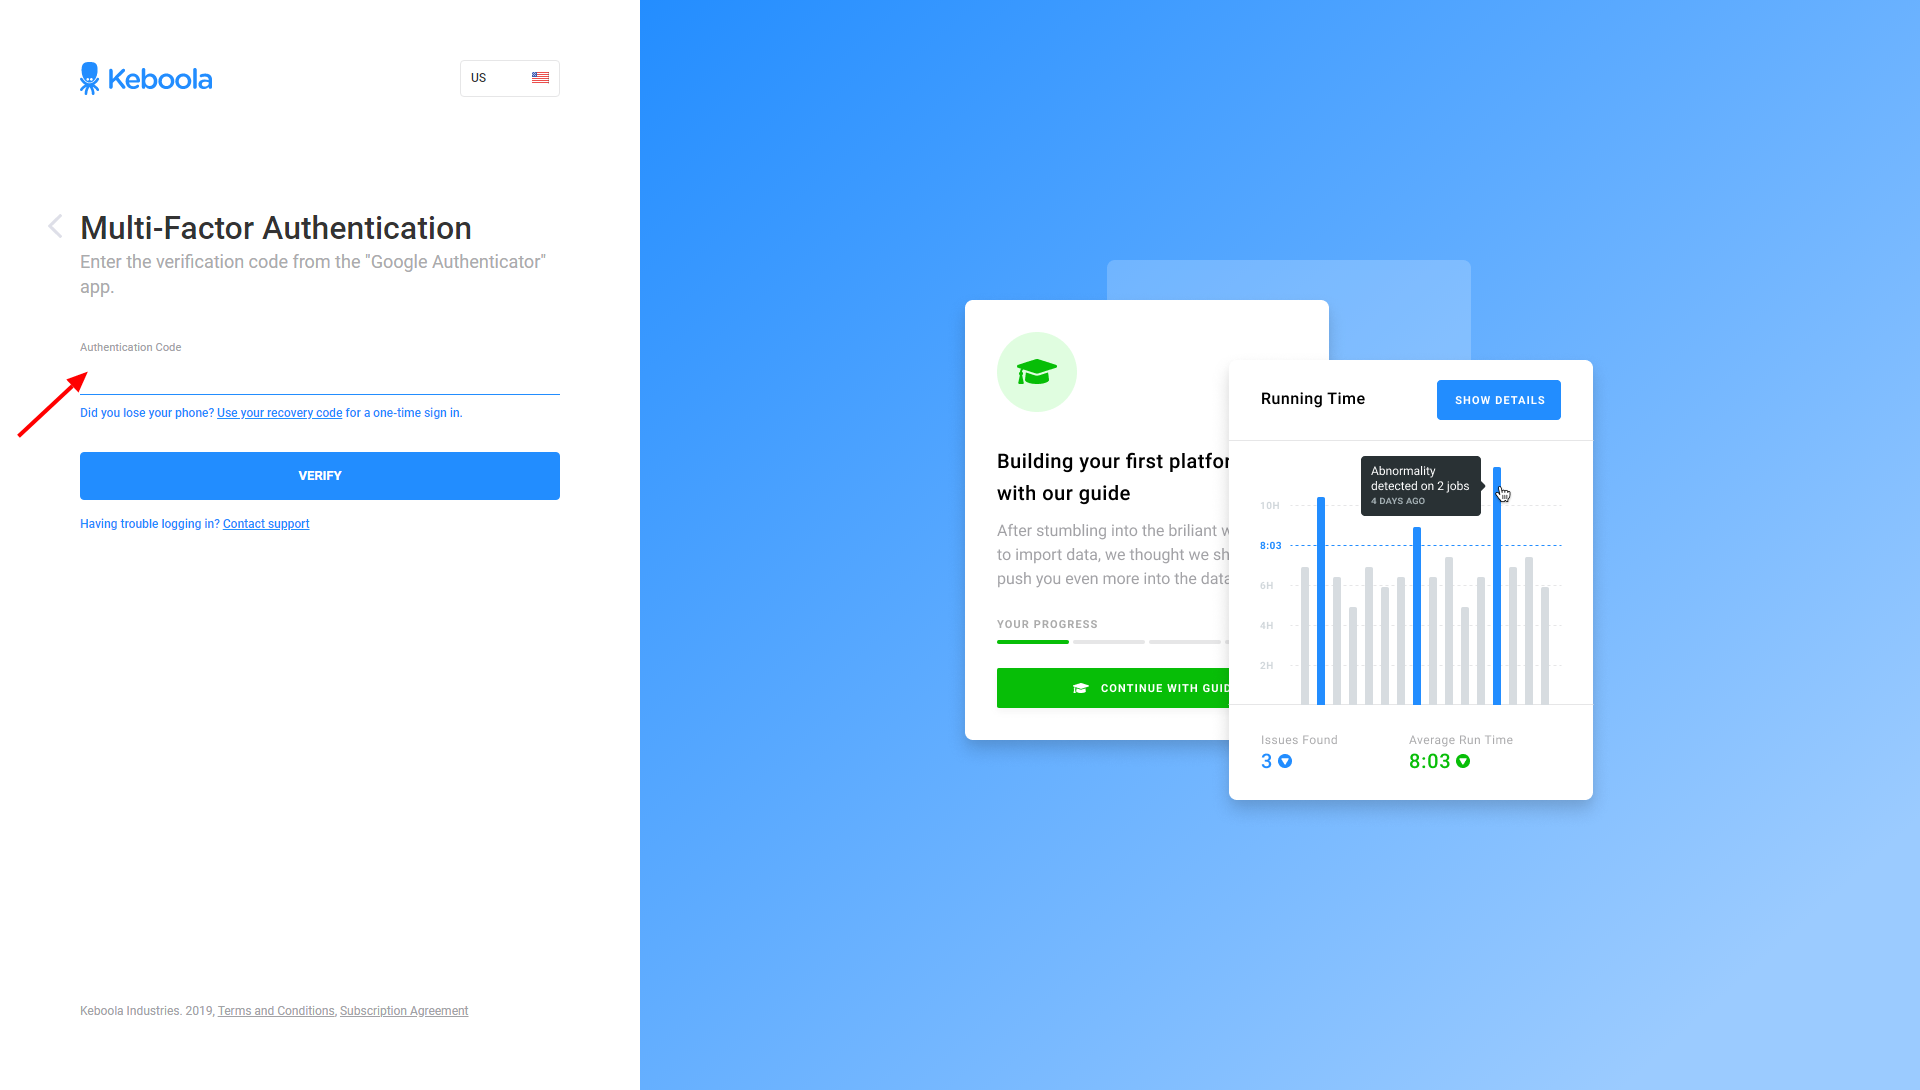
Every time you log in with your email and password, you will be prompted to enter the MFA code obtained from your device:
U2F
U2F is a hardware device that can be used as your second factor of authentication. It currently works on most modern browsers:
| Browser: | Chrome | Firefox | Opera | Safari | Edge | IE |
| Supported version: | >= 41 | >= 67 | >= 42 | Not Supported | Not Supported | Not Supported |
When signing in, press the button on the device rather than typing in a verification code. Security keys use the FIDO U2F standard.
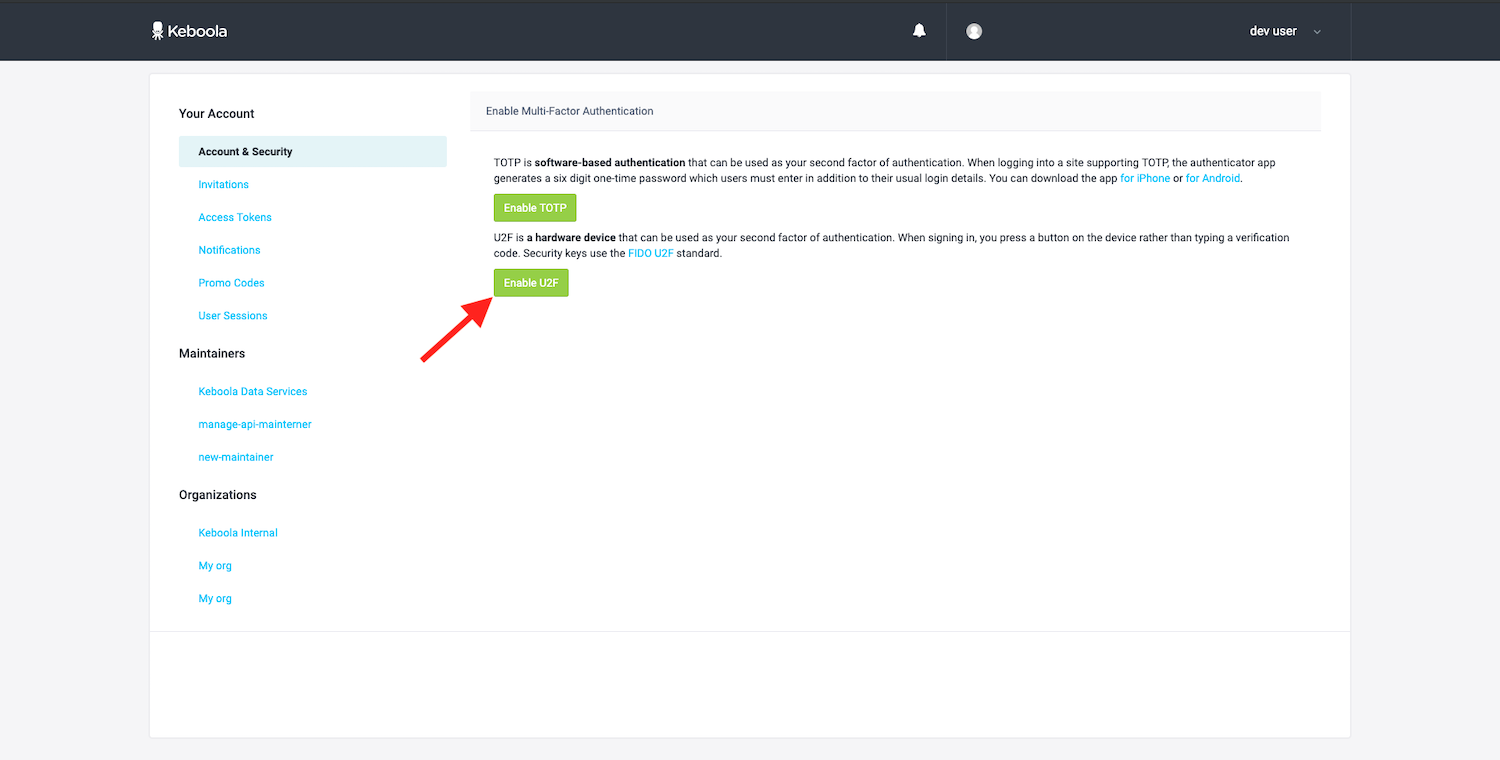
To enable U2F, go to Account & Security and click the Enable MFA button:
Then click the Enable U2F button:
Enter a name for your U2F device and click Add:
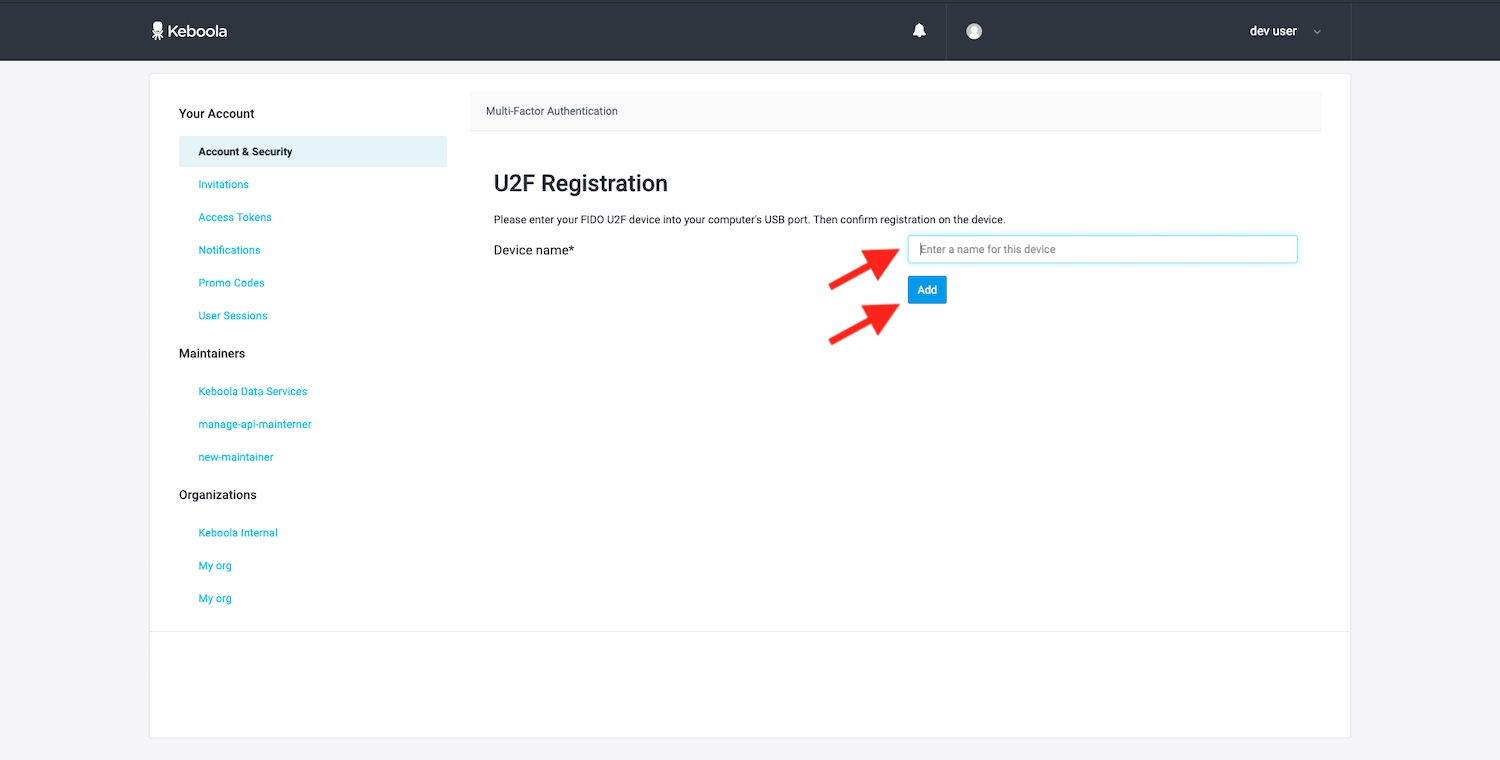
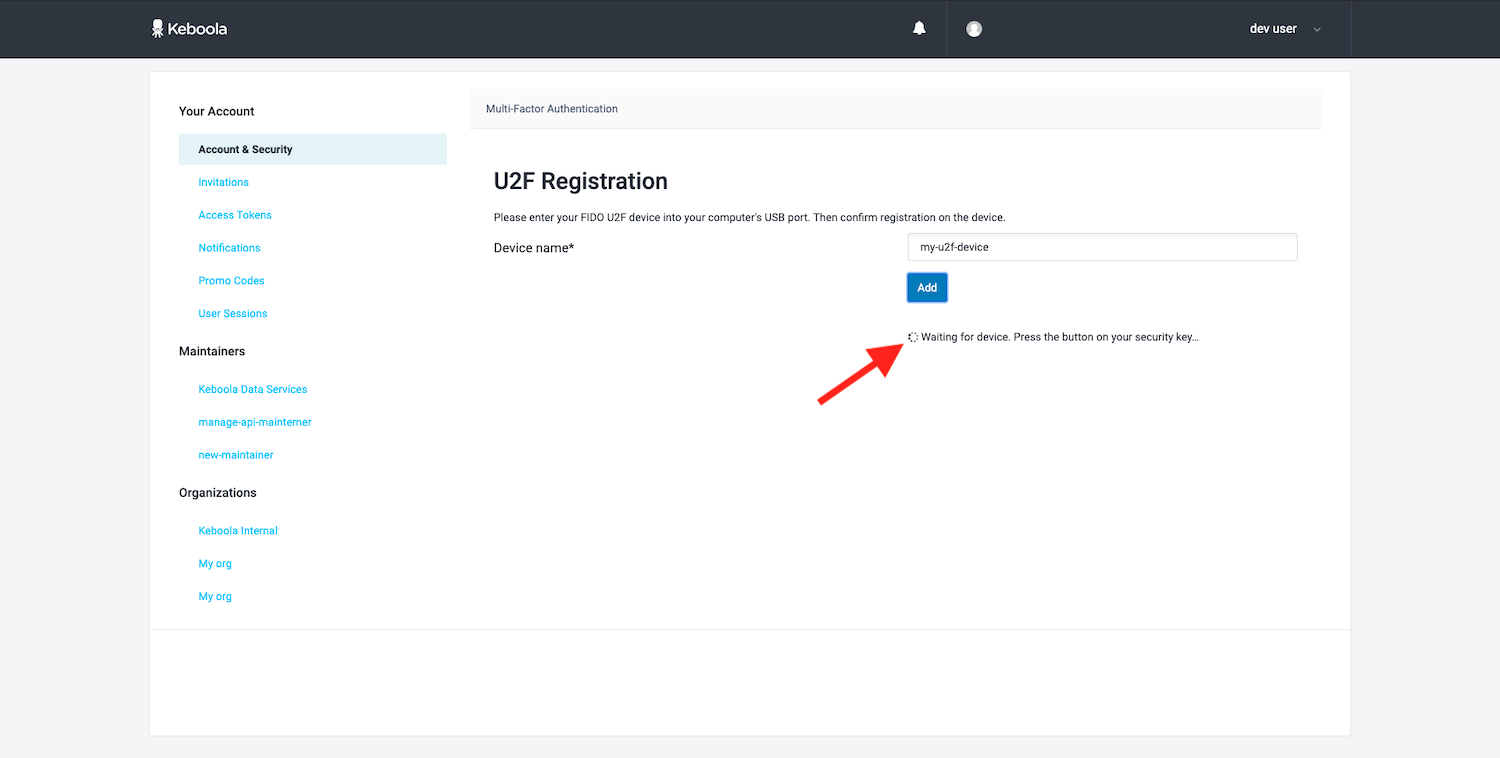
Then activate your security key as recommended in its documentation (e.g., press the button):
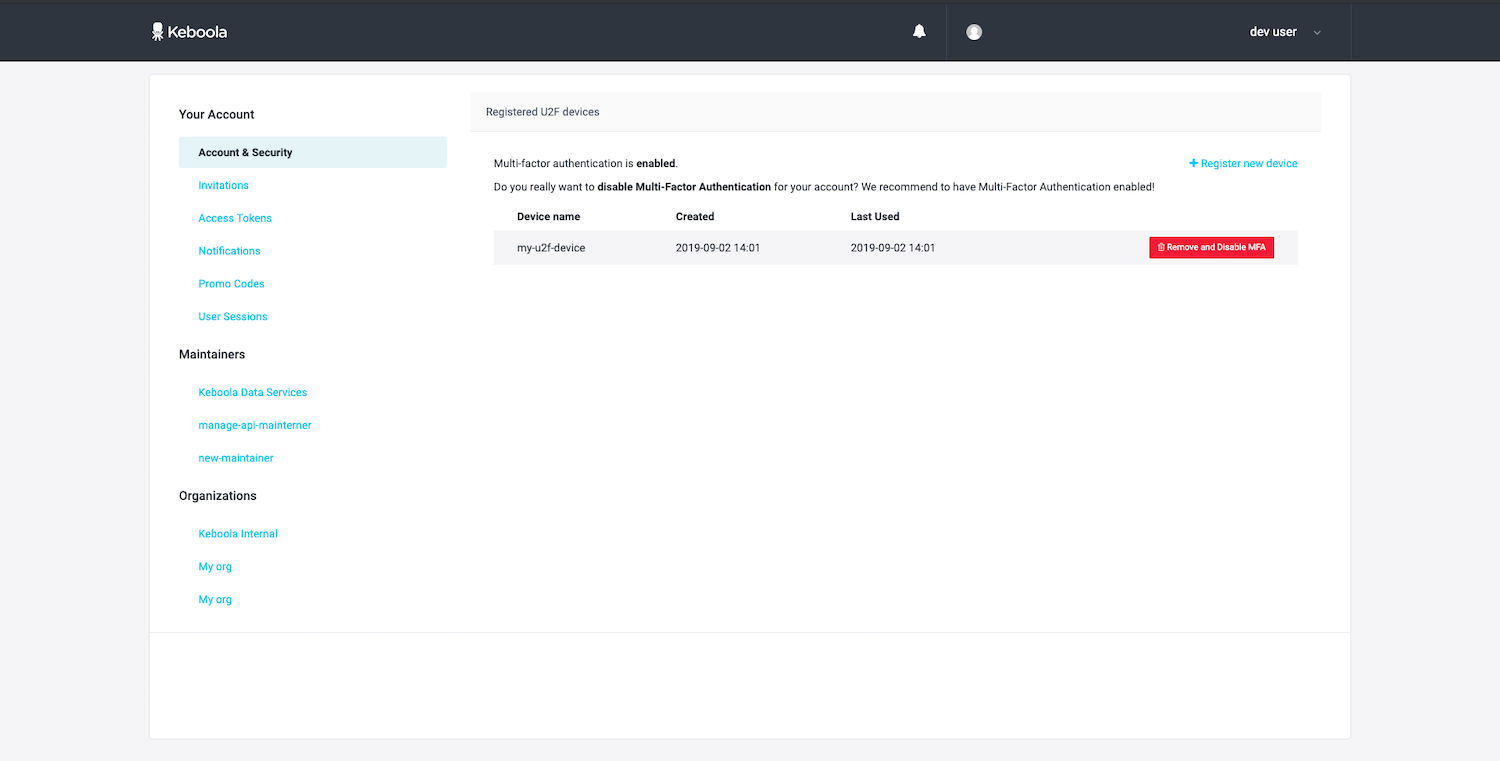
Once you are redirected, you will get the following notification: The new u2f device "my-u2f-device" was added.
You will also see that Multi-factor authentication is enabled and that You have configured 1 device:
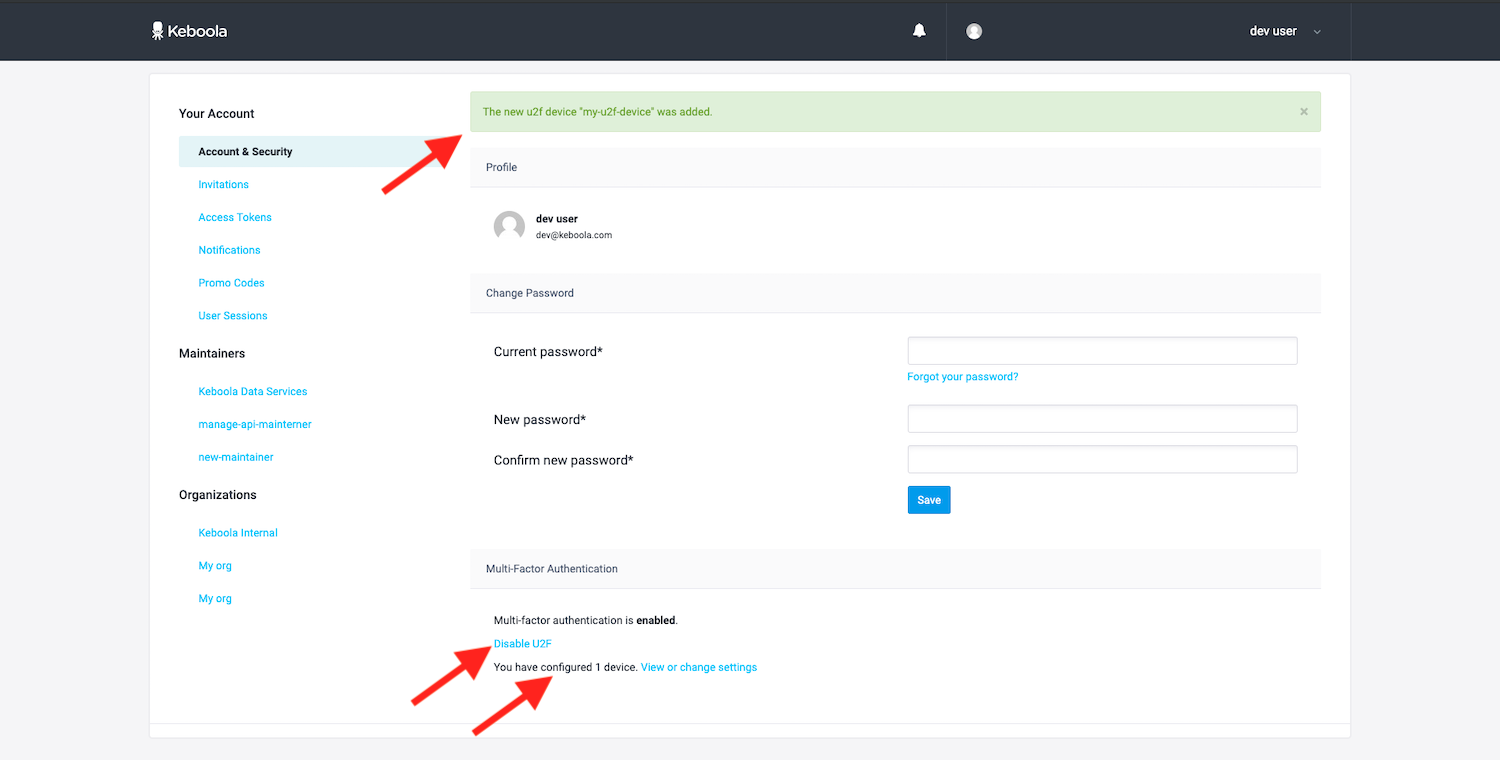
You can manage your U2F devices when clicking on View or change settings:
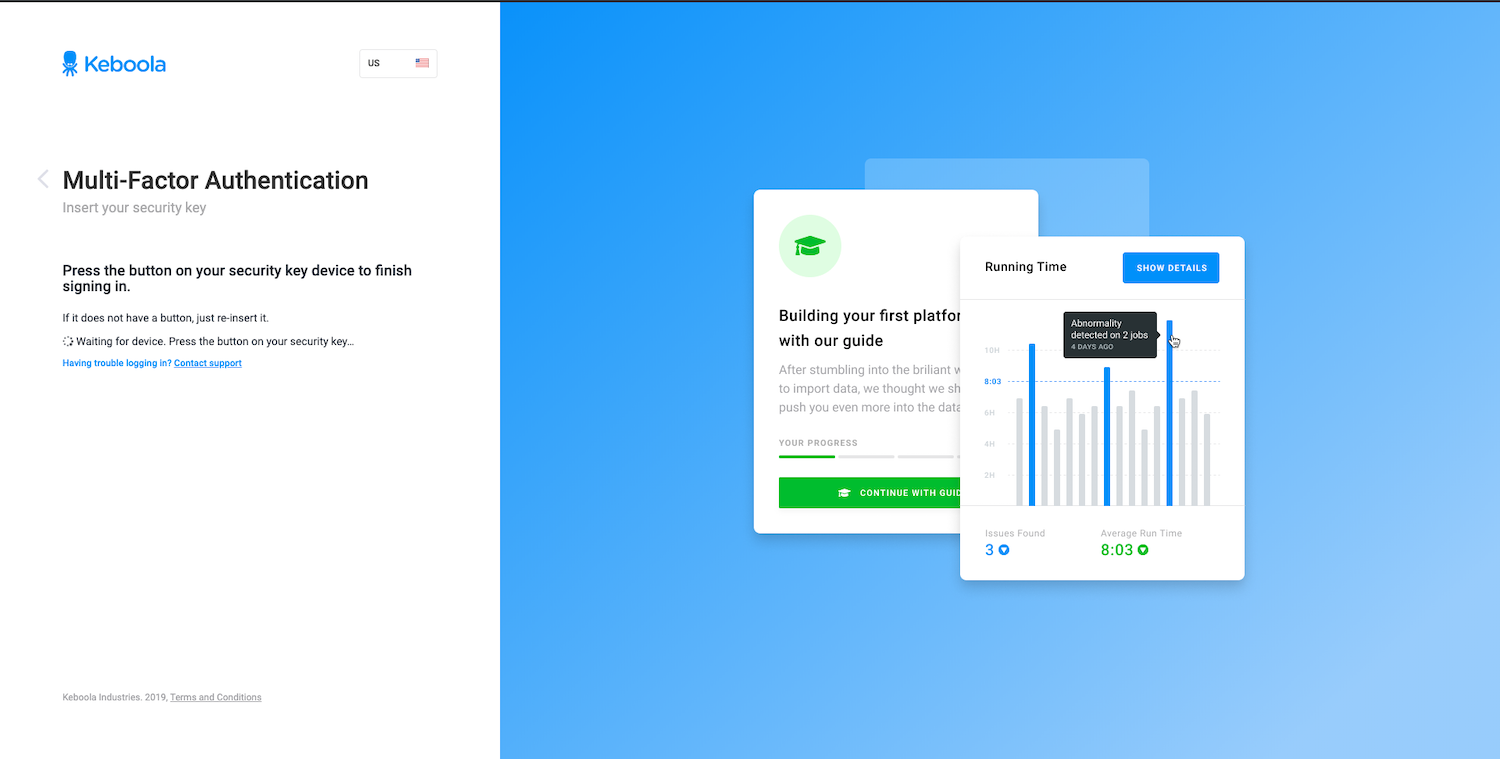
Every time you log in with your email and password, you will be asked to activate your security key. To do that, follow the key’s documentation (e.g., press the button):
Invitations
The Invitations page shows a project or a list of projects you have been invited to. When you accept an invitation, you’ll become a user of the project and will be redirected there. When you decline the invitation, you’ll lose the opportunity to enter the project.

Tokens
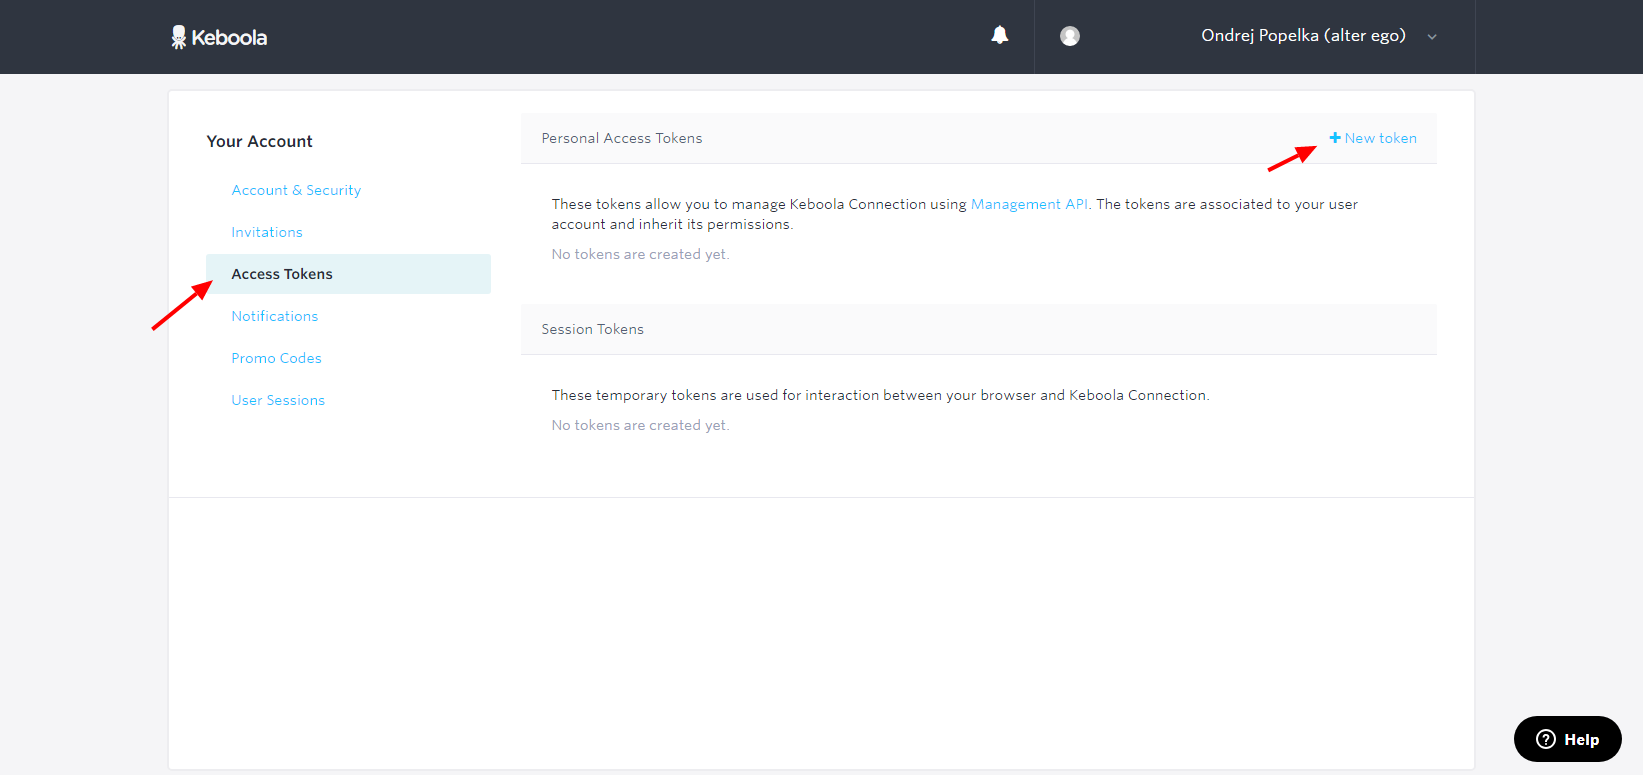
On the Access Tokens page, you can create tokens for the Management API. Do not confuse them with Storage API tokens, which are used for operations within a project. Management tokens are used for project-independent operations such as creating and moving projects, creating organizations and projects monitoring. This means that the Management API offers some features which are not available from the UI yet. Unless you need the features or have other reasons to work with the Management API, there is no need to create a management token.
To create a management token, click the New Token button in the Access Tokens section:
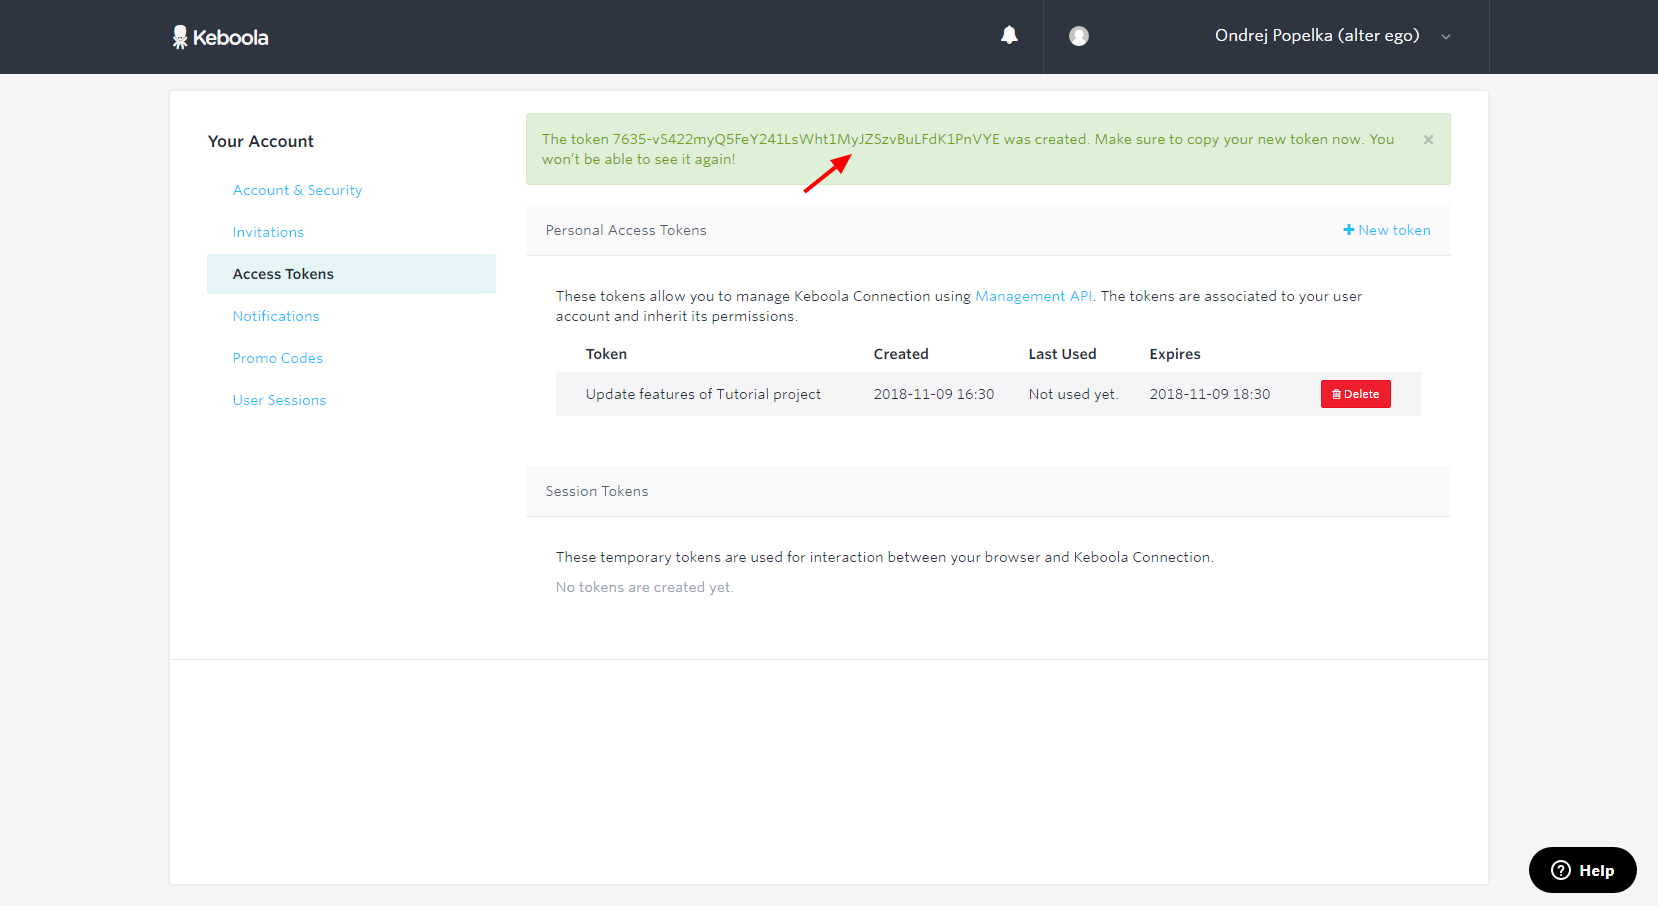
Fill in an arbitrary token name and click the Create Token button:
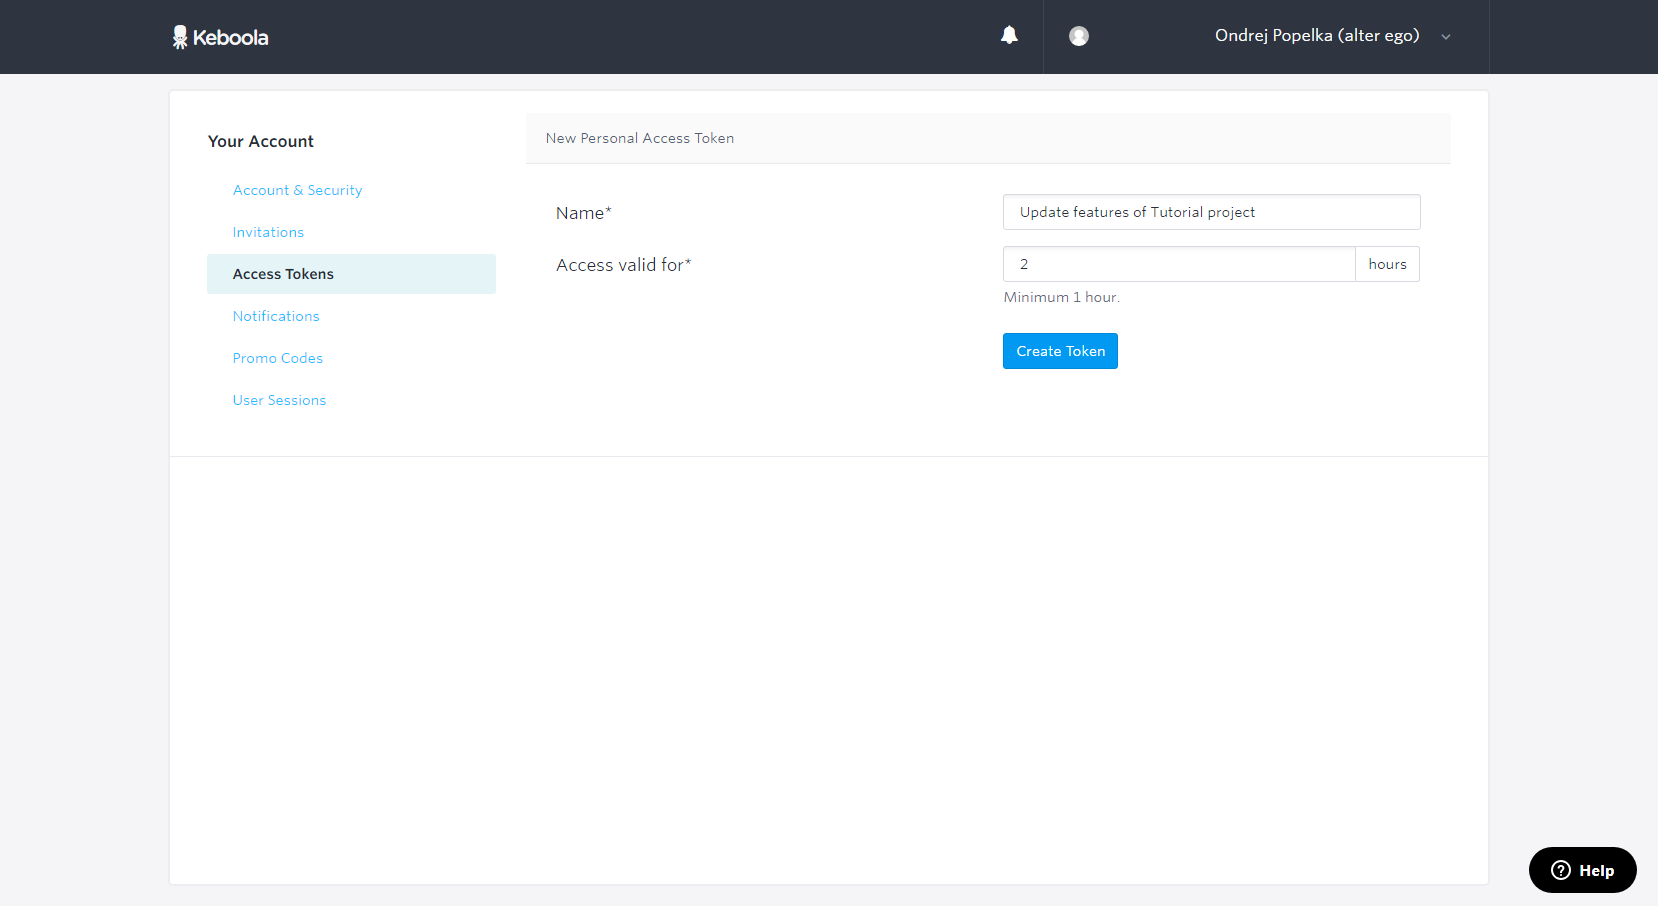
The token will be shown to you.
Important: Be sure to note it — it cannot be retrieved!
Despite the fact that management tokens always expire, we advise you to delete the ones you are not using.
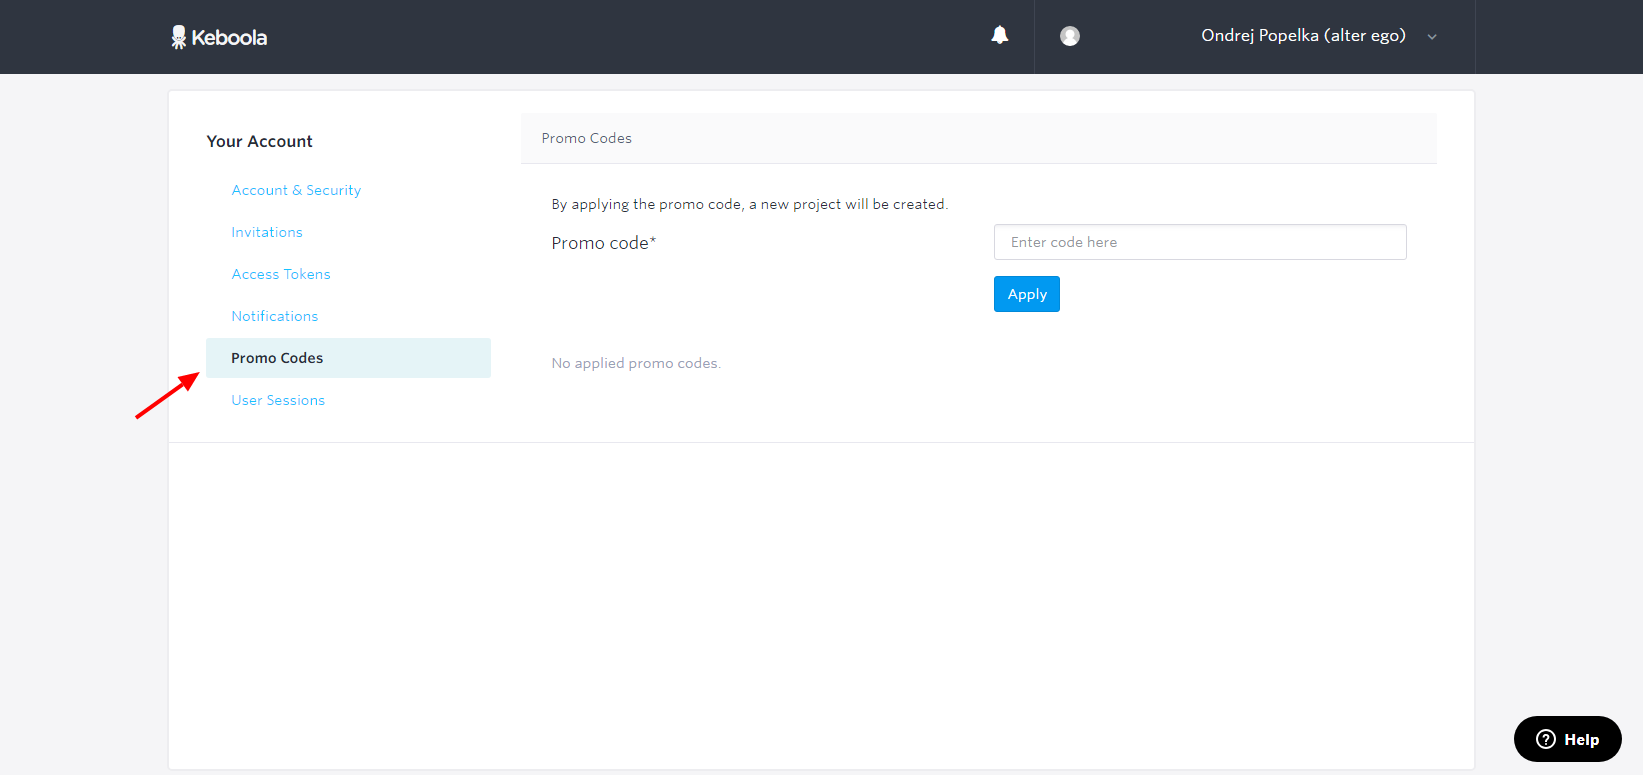
Promo Codes
You may receive promotional codes to create a new project. They are not applied to existing projects but are typically used for ad-hoc projects, hackathons, and PoCs.
User Sessions
Each time you sign in to the Keboola user interface, a user session is created. The session is closed after an explicit logout, after 48 hours of inactivity or when the browser is closed.
You can sign in to your account multiple times from different devices (or browser windows). All devices that you have used to log into your account are listed on the User Sessions page.
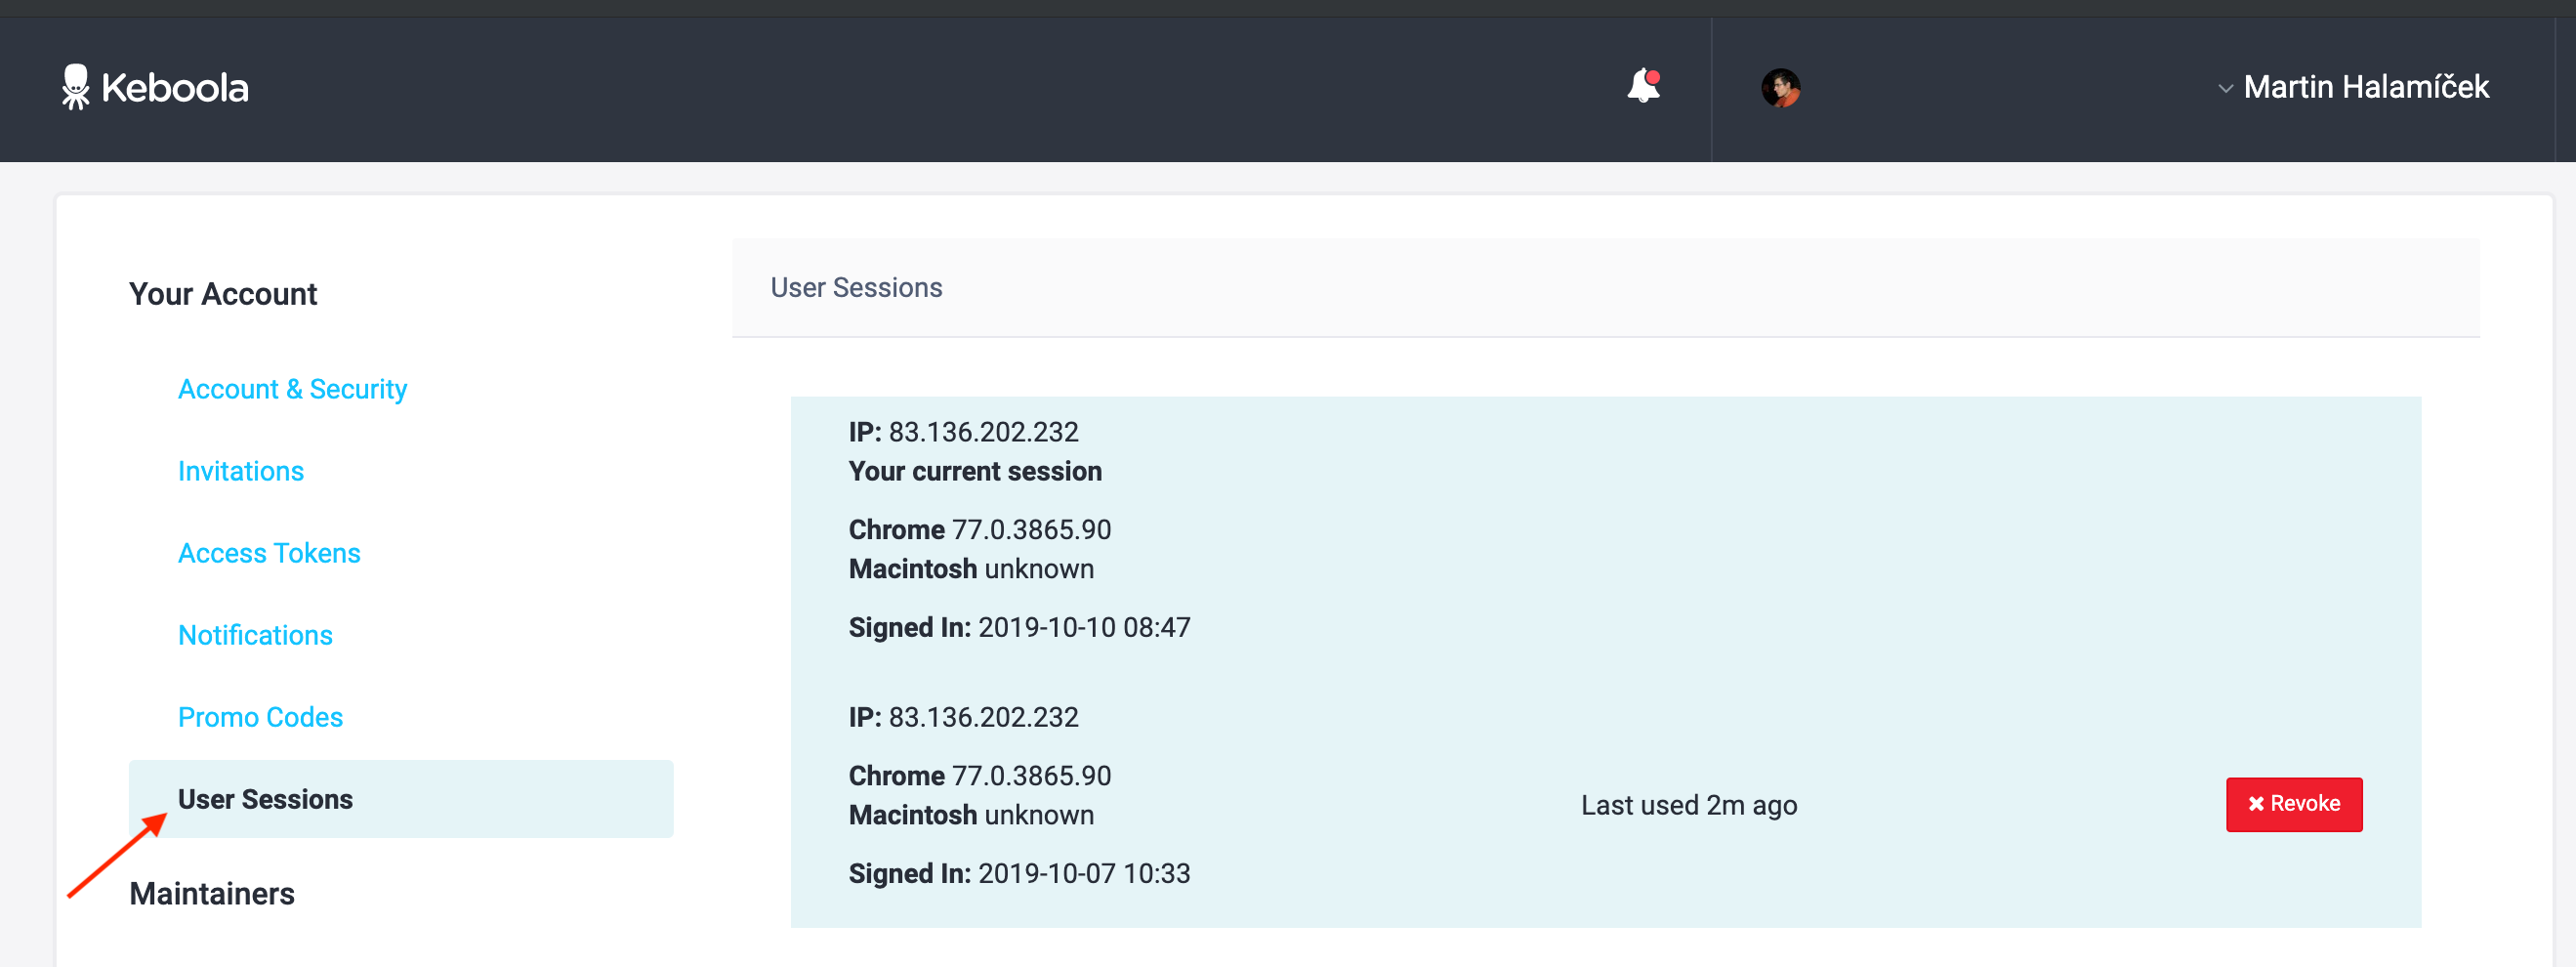
You can revoke any of these sessions. Revoking a session is the equivalent of logging out from the UI. Revoke your sessions if you forgot to log out on a computer you don’t have access to, if you loose your computer or detect any suspicious activity.